![B6 [2000 - 2005]](/uploads/Audi_A4_2000-2005_B6_.jpg)


1. Snap off the right trunk trim cover, then remove the red plastic cable for emergency hatch opening.
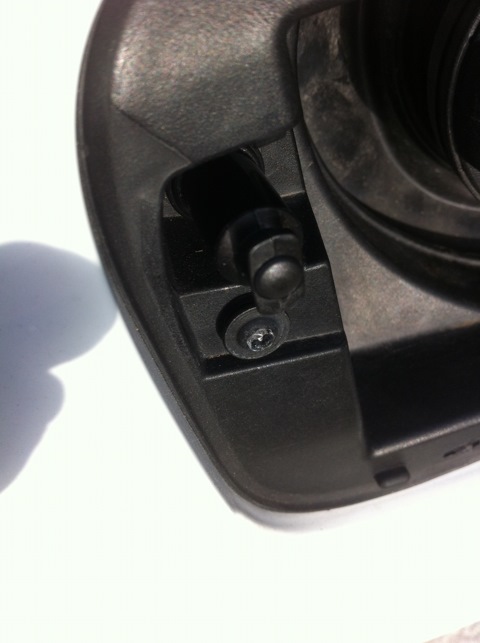
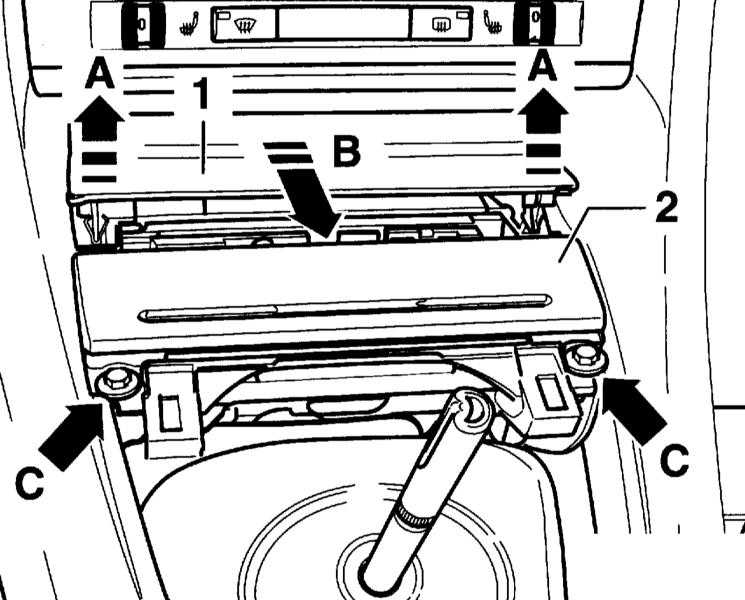
2. Open the hatch itself, unscrew the only torx, sink the lock itself so that it is in the closed position.
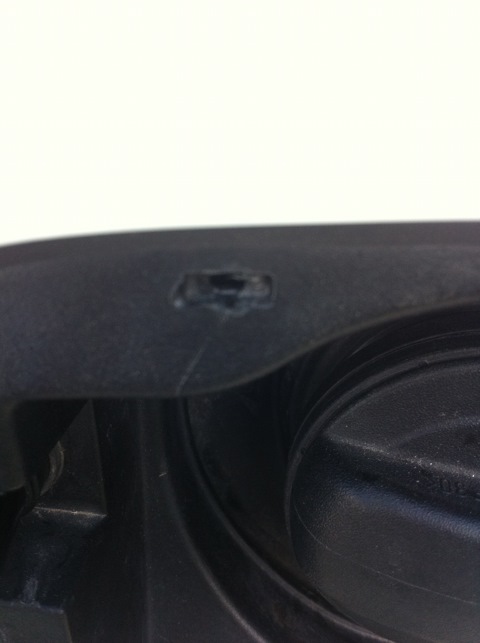
3. We take a small flat screwdriver and make holes in the two upper notches in the plastic (without fanaticism, you don’t need to drive the screwdriver far) ... the bottom ones, in theory, also need to make holes, but I did without it.
4. Next, you need to slightly squeeze the two latches through the holes made, insert the screwdriver exactly into the holes and lift the screwdriver handle up (because the latches should go down, you can see in the photo).
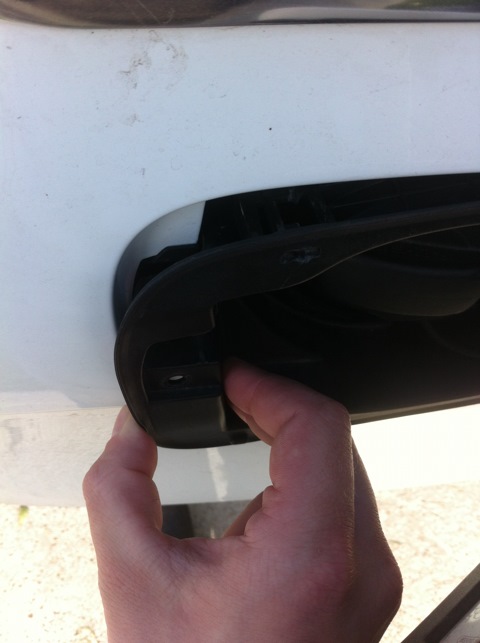
5. We insert a screwdriver into the upper left hole, as if at an angle in the direction of the right hole, and begin to gently pull towards ourselves, and this must be done carefully, without leaning on the edge of the body. With my second hand, I grabbed the edge of this entire plastic plug (seen in the photo). Slowly loosen the left corner until it comes out of the body, carefully bend it over the upper edge and pull it towards you.
ATTENTION! it is desirable to wrap the metal hatch itself, because. when removing the entire structure, its corner can scratch the body.

6. We take out the structure, unscrew the neck cap, it is advisable to close the tank with something so that nothing falls there (just in case).
7. Remove the motor itself (just pull it to the left, it just fits into the grooves), disconnect the connector and pull it out along with the emergency cord.
8. We connect the connector, check the performance, drag the cord back into the sidewall of the trunk (there are no partitions, so everything is simple there).
9. We assemble in the reverse order. By the way, according to science, along with the motor, all this plastic filling also changes, but I left the old one, the latches did not break (and it costs almost the same as the motor itself).
Source: https://www.drive2.ru/l/1464233/