Tools:
- Phillips screwdriver, medium
- Small flat screwdriver
Notes:
Removing the steering column cover
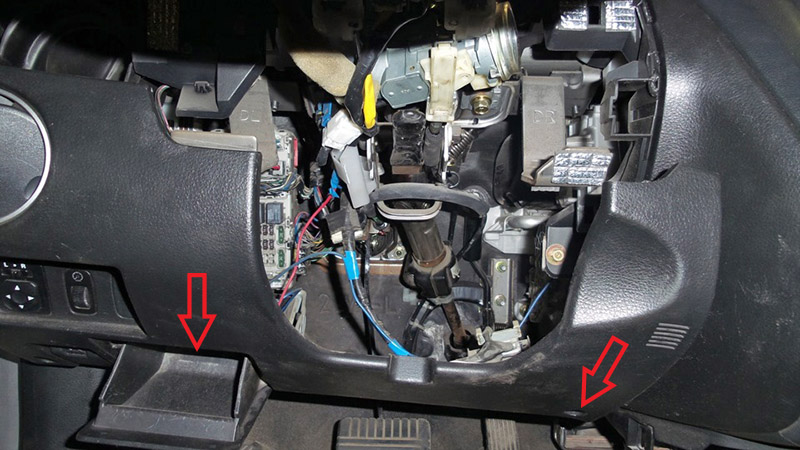
1. Depending on the version, the lower part of the steering column cover is fixed with three or four self-tapping screws from below. Some of the self-tapping screws are not visible in the image, but their location is marked with arrows. The second method of fastenings is similar to the above image.
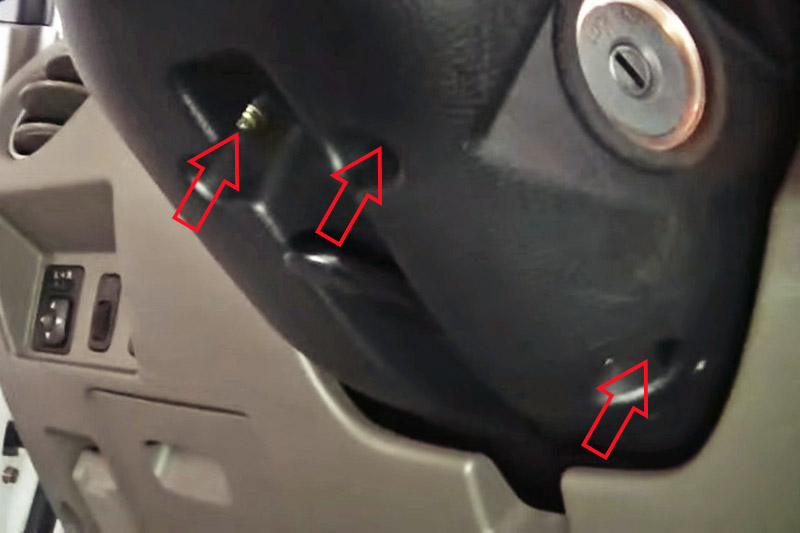
Option with fastening with three self-tapping screws of the lower casing of the steering column
2. Release the steering column tilt adjuster and lower the Mitsubishi Outlander's steering wheel slightly down to give more freedom to remove the upper half of the steering wheel cover.
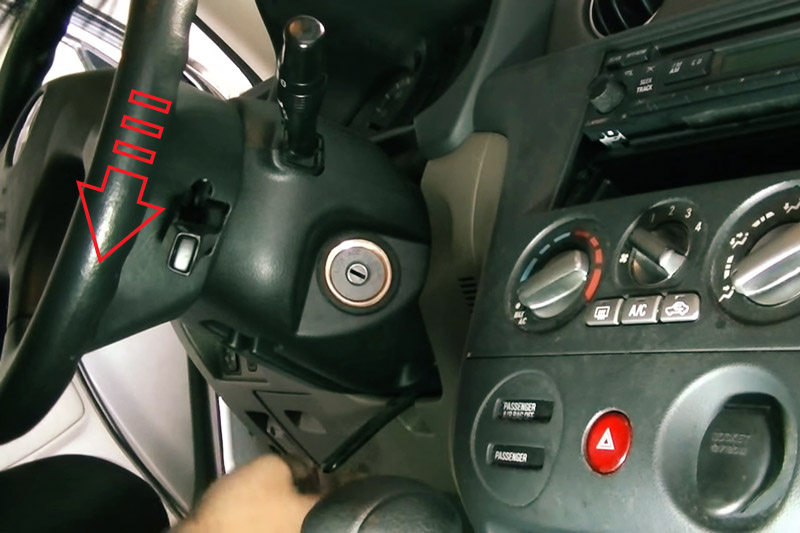
3. Using a small flathead screwdriver, gently pry around the stalk hole and pry the two halves of the steering column cover apart. Remove the top half of the casing.
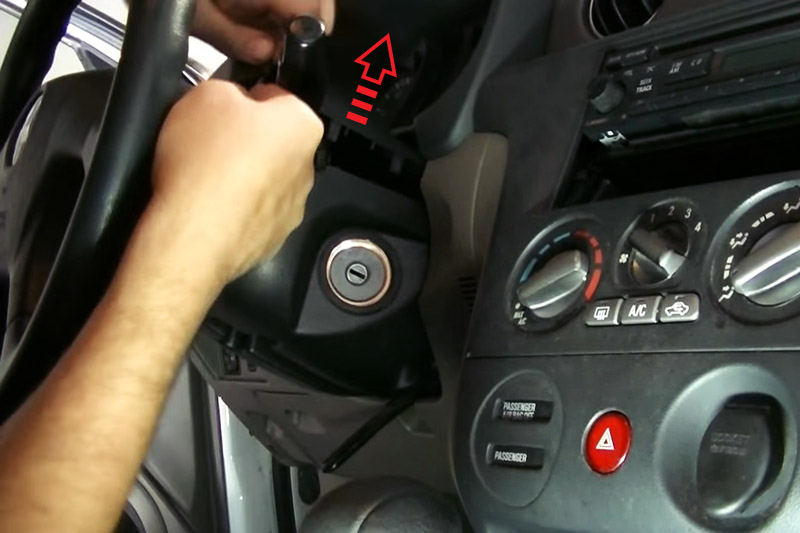
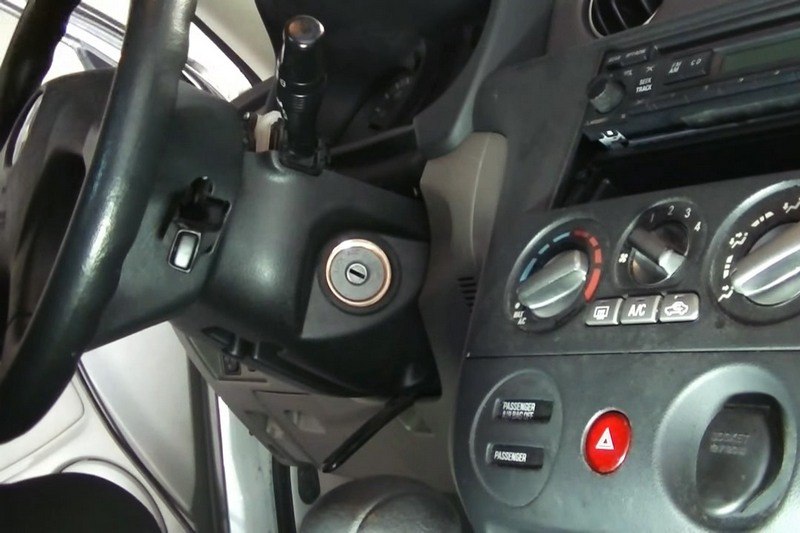
4. Lift a steering column upwards and remove the lower half of a casing.
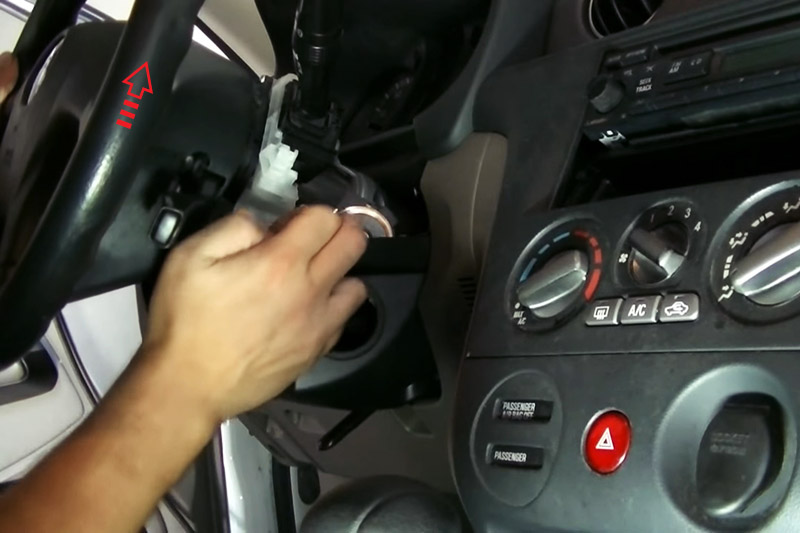
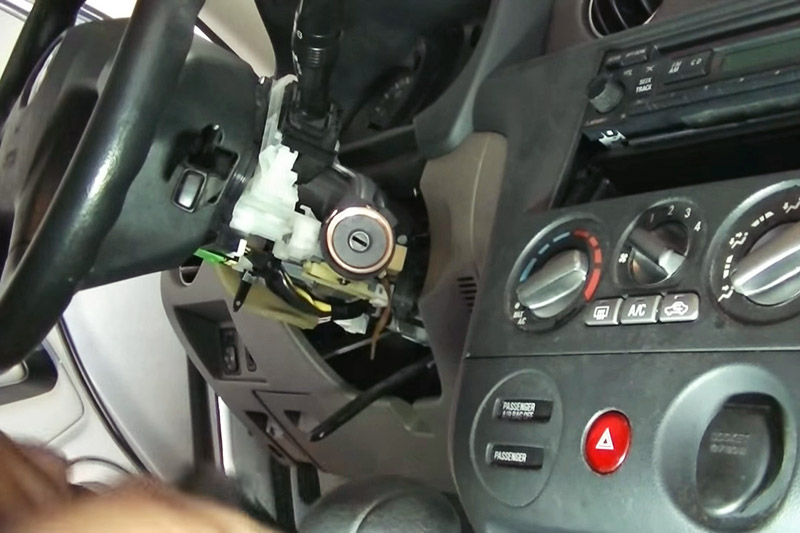
5. Install all parts in reverse order.
Removing the panel of the central floor console (tunnel) of the passenger compartment
1. Raise the Mitsubishi Outlander handbrake and pry with a flat screwdriver and remove the small bar under the handbrake lever (two clips hold the bar).
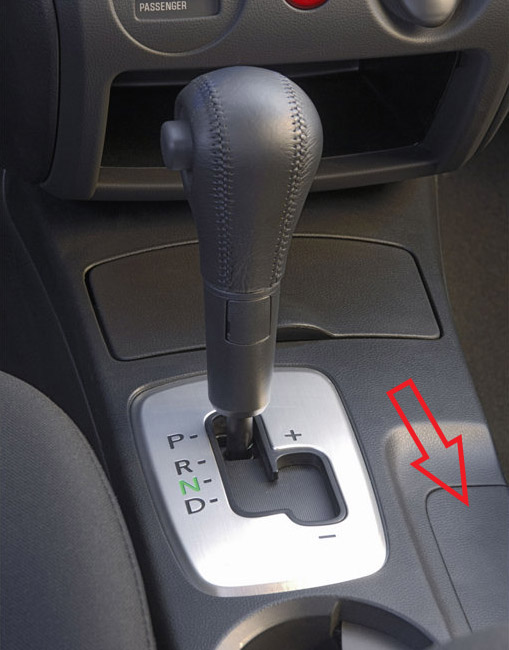
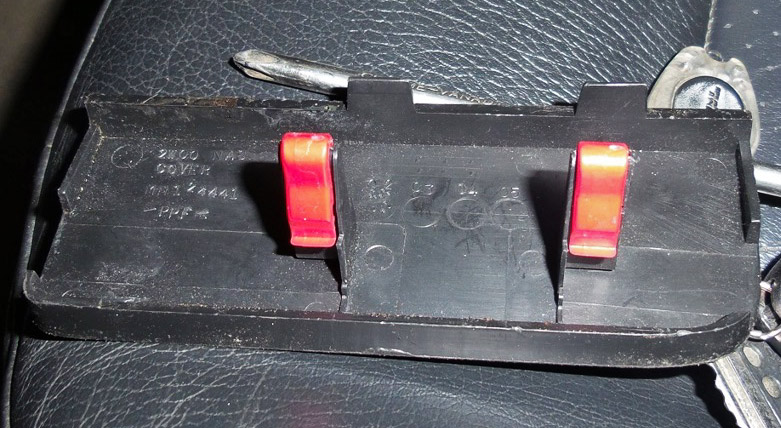
2. Open the ashtray cover, pry off the upper decorative panel under the handbrake with a screwdriver, lift it in other places (it is held by seven clips). The picture shows the approximate locations of the clips, except for the two rear ones, which are located in the rear short part of the panel.
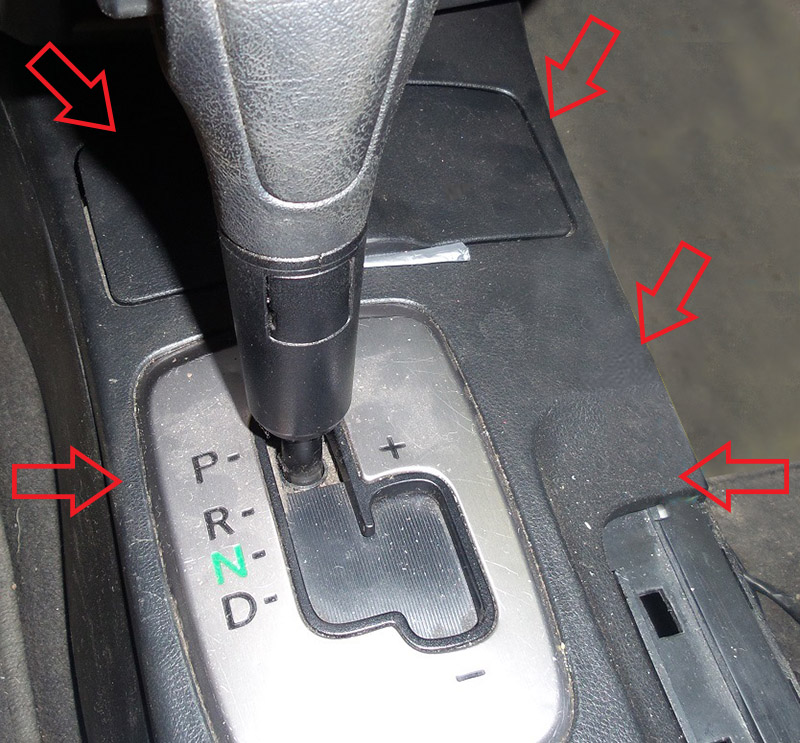
3. Remove the upper central panel of the Mitsubishi Outlander by pulling it out along with the ashtray and buttons (depending on equipment).
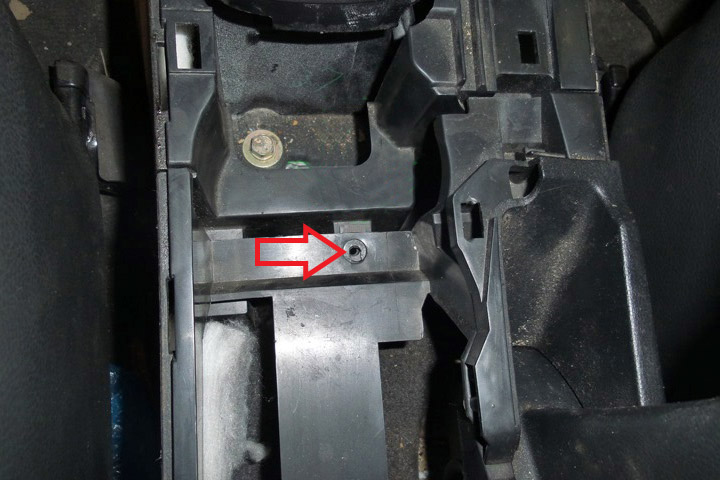
4. Remove the self-tapping screw at the junction of the inner front and rear center plastic panels (approximately between the seats).
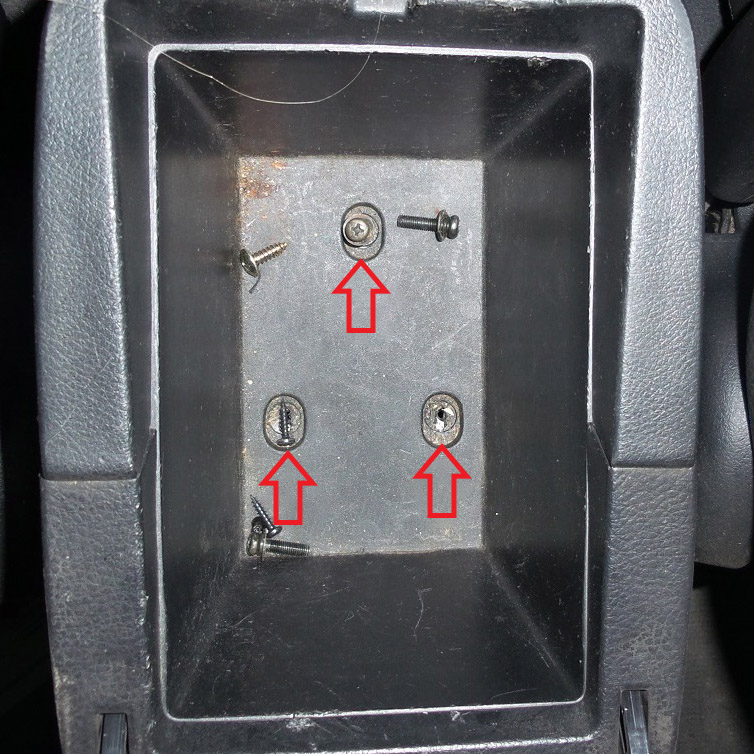
5. Open the armrest niche and unscrew the three screws.
6. Snap off the clips at the junction of the plastic and remove the back of the tunnel.
7. We unscrew a couple of self-tapping screws that became available after removing the back of the tunnel.
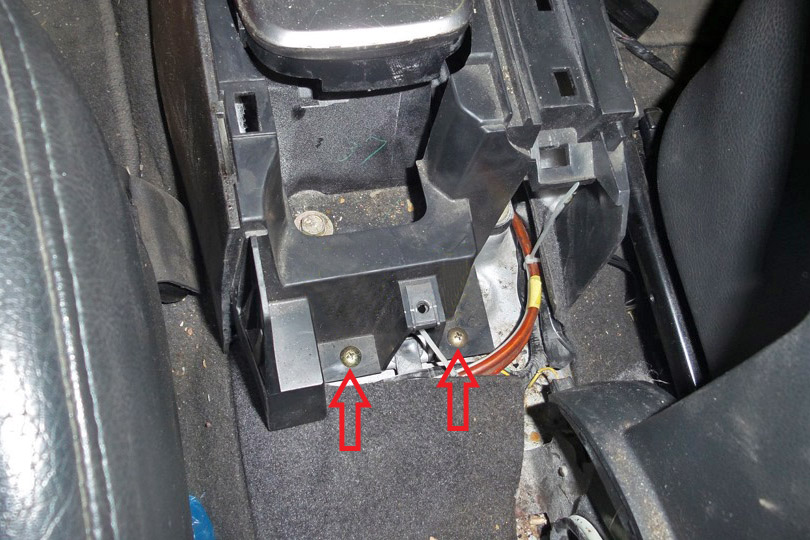
8. Remove the two side panels around the legs. On the left - a plastic external piston for a screwdriver and two clips. On the right there are three clips (in some versions there may be four).
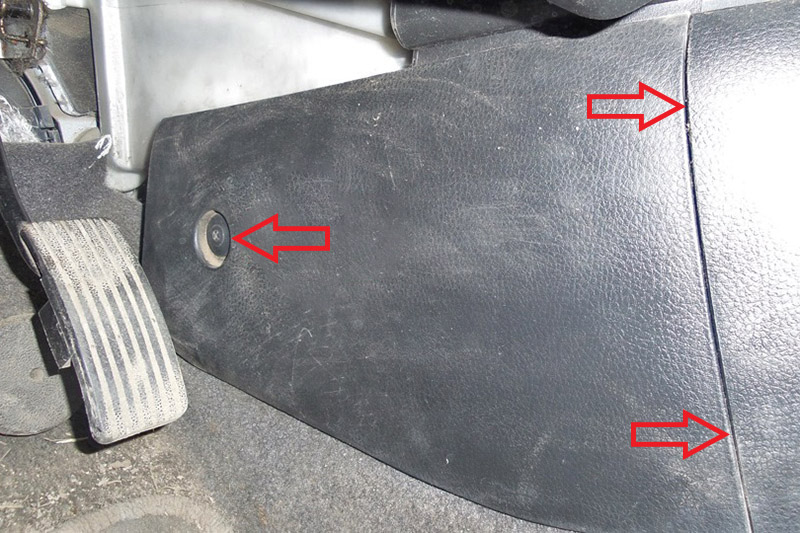
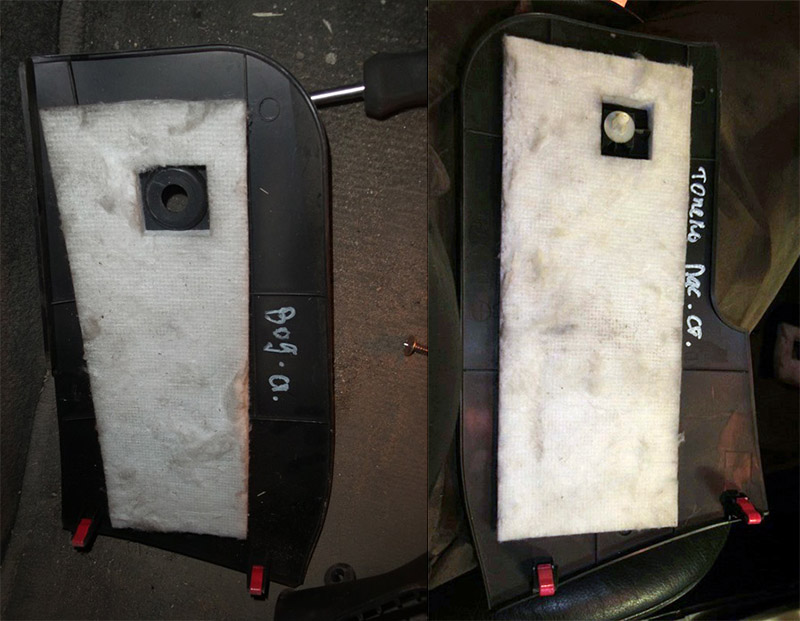
Left and right sidebars
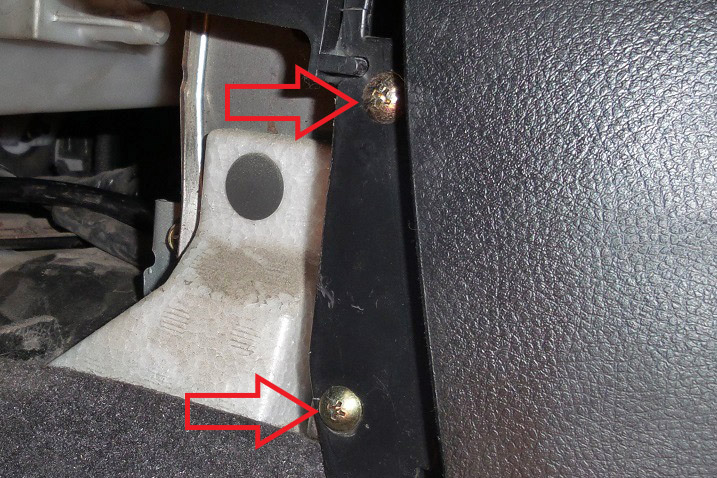
9. Under the removed side panels, access to two pairs of self-tapping screws (located in the area of the rear two clips of the side panels) will be released. Unscrew them.
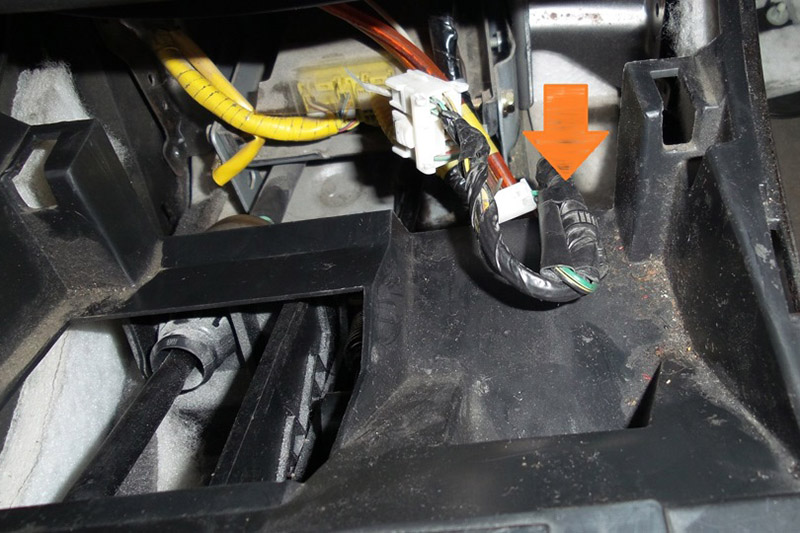
10. Release the harness from the retaining loop.
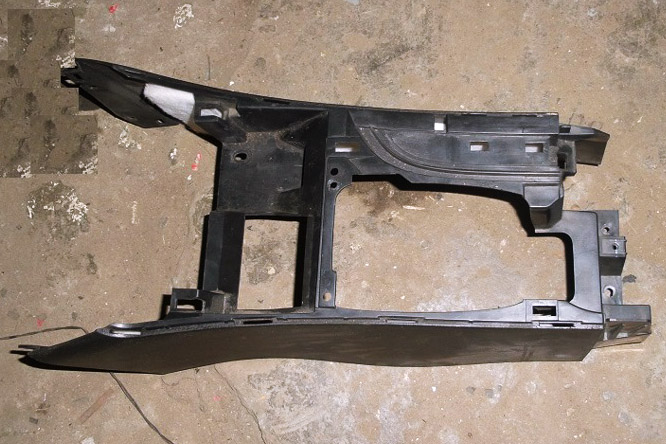
11. Remove the central console of the central tunnel.
The article is missing:
- Tool photo
- High-quality repair photos
Source: carpedia.club
![1 generation [2003 - 2007]](/uploads/Mitsubishi_Outlander_I_2003_-_2008_.jpg)
![3 generation [2012 - 2014]](/uploads/3.png)
![XL [2005 - 2012]](/uploads/4d137205da66f_.jpg)