![1 generation [2004 - 2013]](/uploads/Renault_Logan_2004-2009_.jpg)
![2 generation [2013 - 2021]](/uploads/Renault_Logan_2013-2015_.jpg)

Tools:
- Collar for end nozzle
- Nozzle on the crank 30 mm
- Nozzle on the crank 10 mm
- Box wrench curved 21 mm
- Allen key 6 mm
- balloon wrench
- torque wrench
- Screwdriver flat medium
- Ball joint puller
- Mounting blade
- Hammer
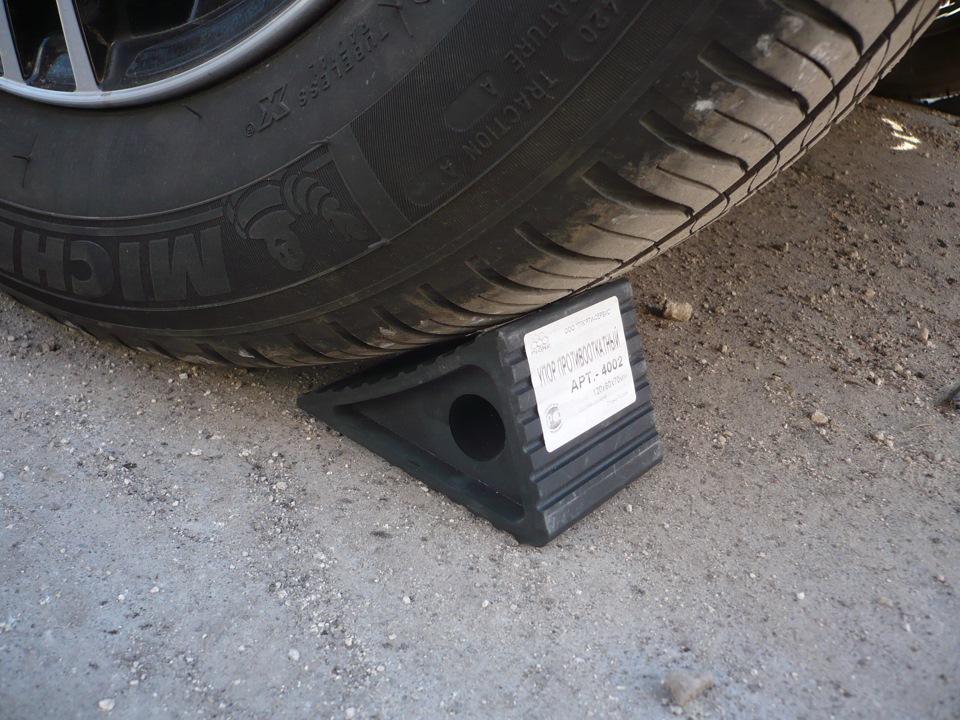
- shoes
- Jack
- Support legs
- Soft metal punch
Parts and consumables:
- Right hand drive
- Left hand drive
- MOLYKOTE BR2 grease
- Transmission oil
- Hub nuts (2 pcs.)
Front left drive:
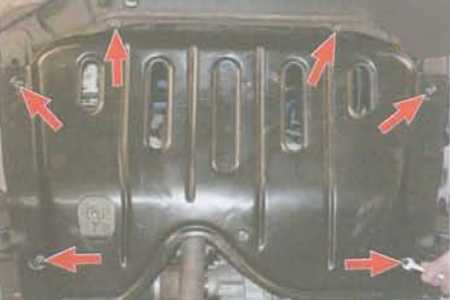
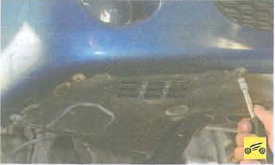
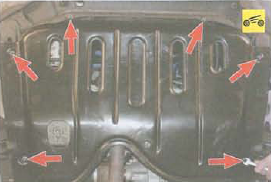
1. Remove the crankcase protection as described here .
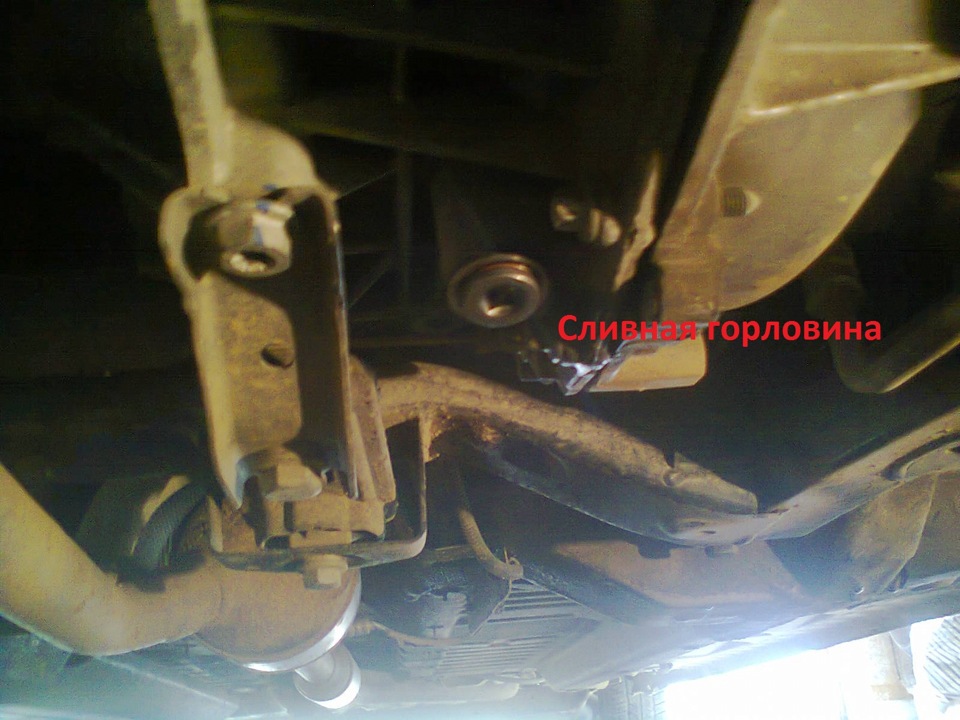
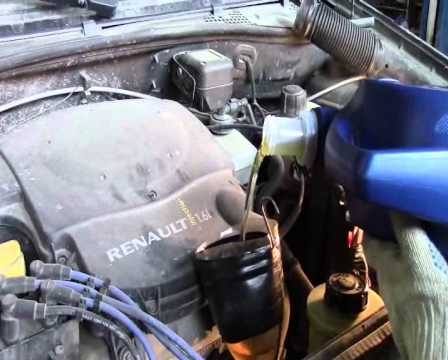
2. Drain the gearbox oil following the instructions described here .
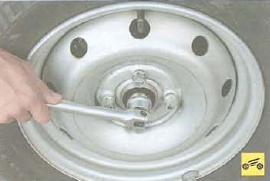
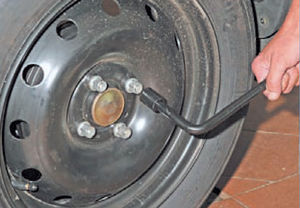
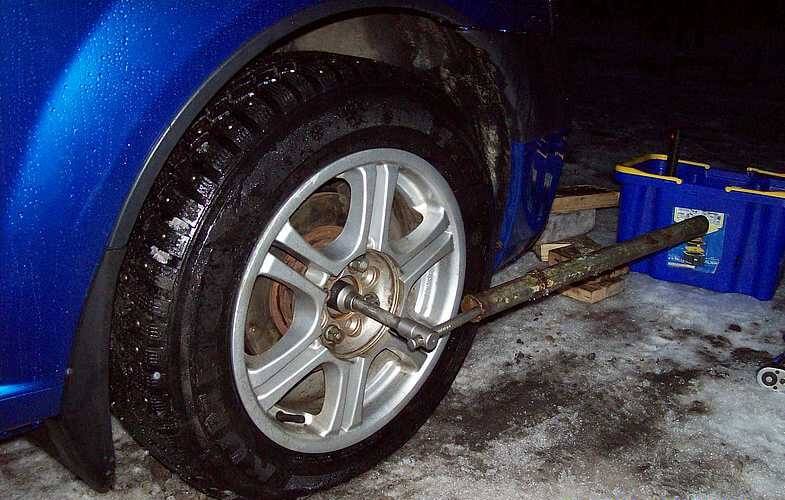
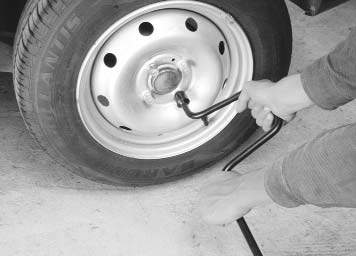
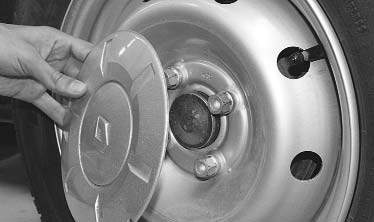
3. Remove a decorative cap of a forward left wheel. Use a 30 mm socket wrench to slightly loosen the hub nut and wheel mounting bolts.
Warning:
When loosening/tightening the hub nut and wheel mounting bolts, the vehicle must be on the ground.
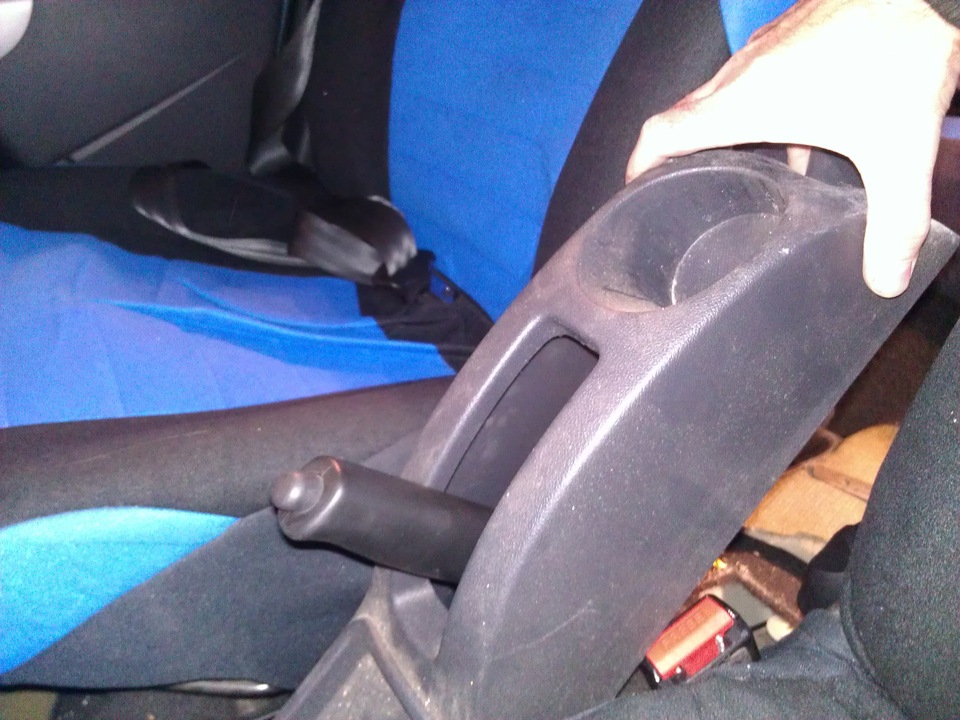
4. Brake the vehicle by raising the parking brake lever and placing wheel chocks under the rear wheels.
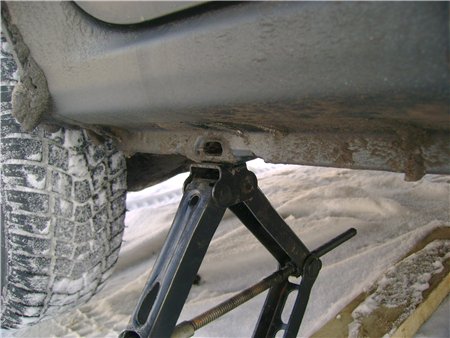
5. Raise the front of the vehicle and place it on strong and secure supports.
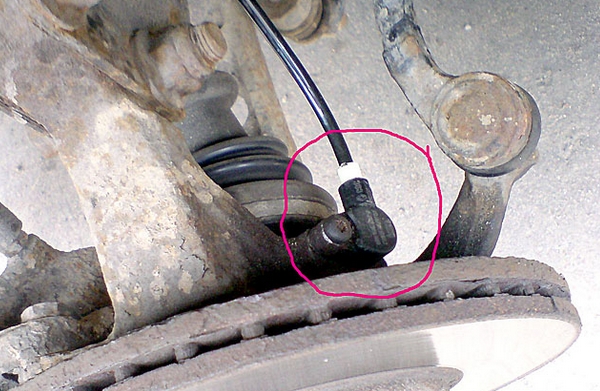
6. Disconnect the wiring harness connector from the wheel speed sensor (for vehicles equipped with an anti-lock braking system).
7. Disconnect the left tie rod from the steering knuckle as described here .
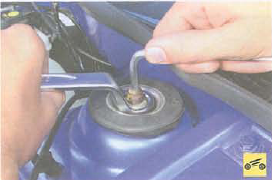
8. Using a 21 mm spanner and a 6 mm Allen wrench, loosen the mounting nut on the top of the shock strut.
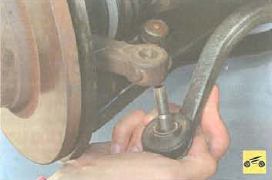
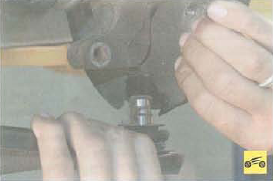
9. Remove the ball joint from the steering knuckle, to do this, press the lower arm down and overcome the elastic resistance of the vehicle's anti-roll bar.
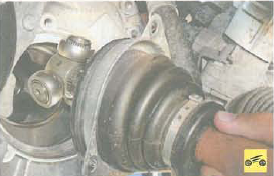
10. Move the shock absorber strut to the side while removing the shank of the outer CV joint from the hub.
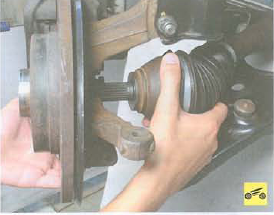
Note:
If removing the shank causes difficulty, it is allowed to knock it out of the hub by applying light blows with a hammer through a spacer made of wood or soft metal.
Warning:
Do not allow the drive shaft to come out of the axle gear, otherwise the hinge rollers may fall into the gearbox housing!
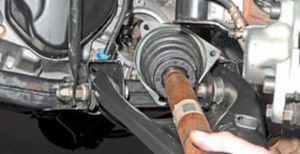
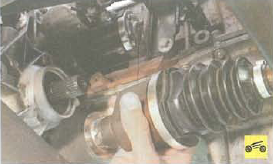
11. Loosen and remove the three bolts securing the drive inner joint boot holder to the gearbox housing.
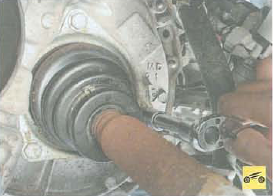
12. Remove the inner hinge from the grooves of the axle shaft gear, and then dismantle the drive of the front left wheel.
Notes:
When removing the hinge from the axle shaft gear, it is necessary to check the tightness of the rollers in the pins of the three-spike hinged hub. If the rollers are loose in their seats, the drive must be removed with the utmost care.
Be careful when mounting the drive.
13. Install the front left drive and all removed parts in the reverse order of dismantling.
14. Add oil to the gearbox as described here .
15. Install the wheel, then screw the wheel mounting bolts all the way, but do not tighten them by force.
16. Install the car on wheels, having removed from supports, and then tighten a nave nut.
Note:
The tightening torque of the hub nut is 280 Nm. It is strictly forbidden to move the car with the hub nut loose, otherwise the wheel bearing separator may be damaged.
Warning:
Never reuse hub nuts! Only new ones should be used!
17. Tighten the front left wheel mounting bolts.
18. Install a decorative cap on the wheel.
Front right drive:
1. Follow steps #1-11 for left hand drive on the right side of the vehicle.
2. Slide the inner joint housing off the shaft gear spline shank, and then dismantle the front right wheel drive.
3. Install the drive and all dismantled parts in reverse order.
Note:
Before installing the drive, it is necessary to apply MOLYKOTE BR2 grease to the splines of the shaft gear shank.
4. Fill the gearbox with oil as described here .
5. Repeat the operations described in paragraphs No. 16-19 for the left drive on the right side of the car.
The article is missing:
- Tool photo
- Photo of parts and consumables
- High-quality photos of the repair.
Source: carpedia.club