Tools:
- balloon wrench
- Emphasis (shoe) recoil
- Support legs
- screw jack
- Collar for end cap 3/4"
- Nozzle on the collar 17 mm
- Nozzle for crank 32 mm
- Nozzle on the crank 14 mm
- Straight box wrench 17 mm
- Straight box wrench 14 mm
- Extension for the collar (4 pcs.)
- Crank pipe
- Hammer big
- Lathe
- cutter
- Sandpaper
- Electric welding
Parts and consumables:
- Hub nut (49551-3S000)
- Oil seal right (47352-39300)
- Right seal boot (47318-39300)
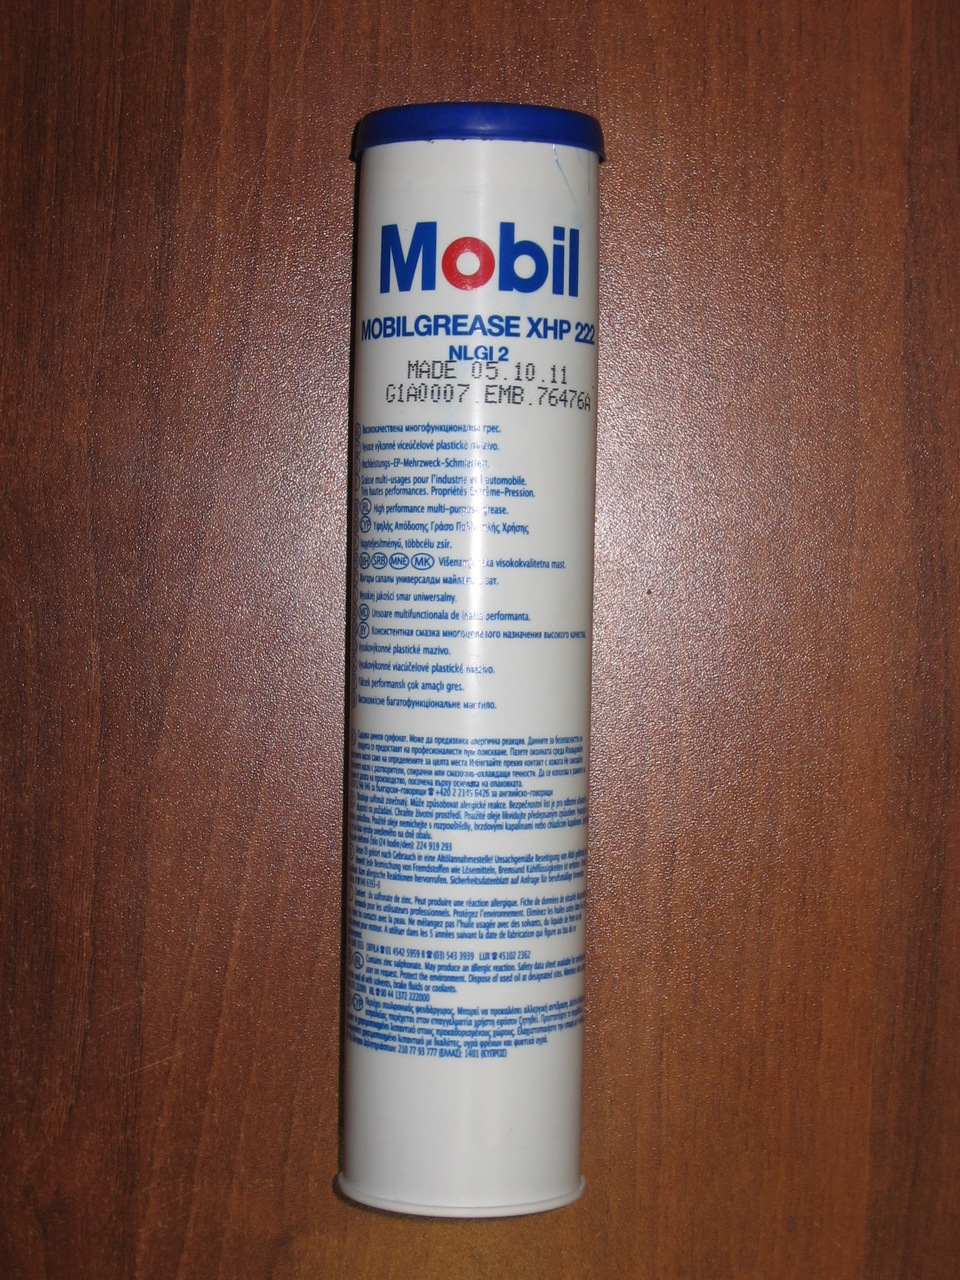
- Lubricant for splines (Mobil 222 for transfer case and automatic transmission)
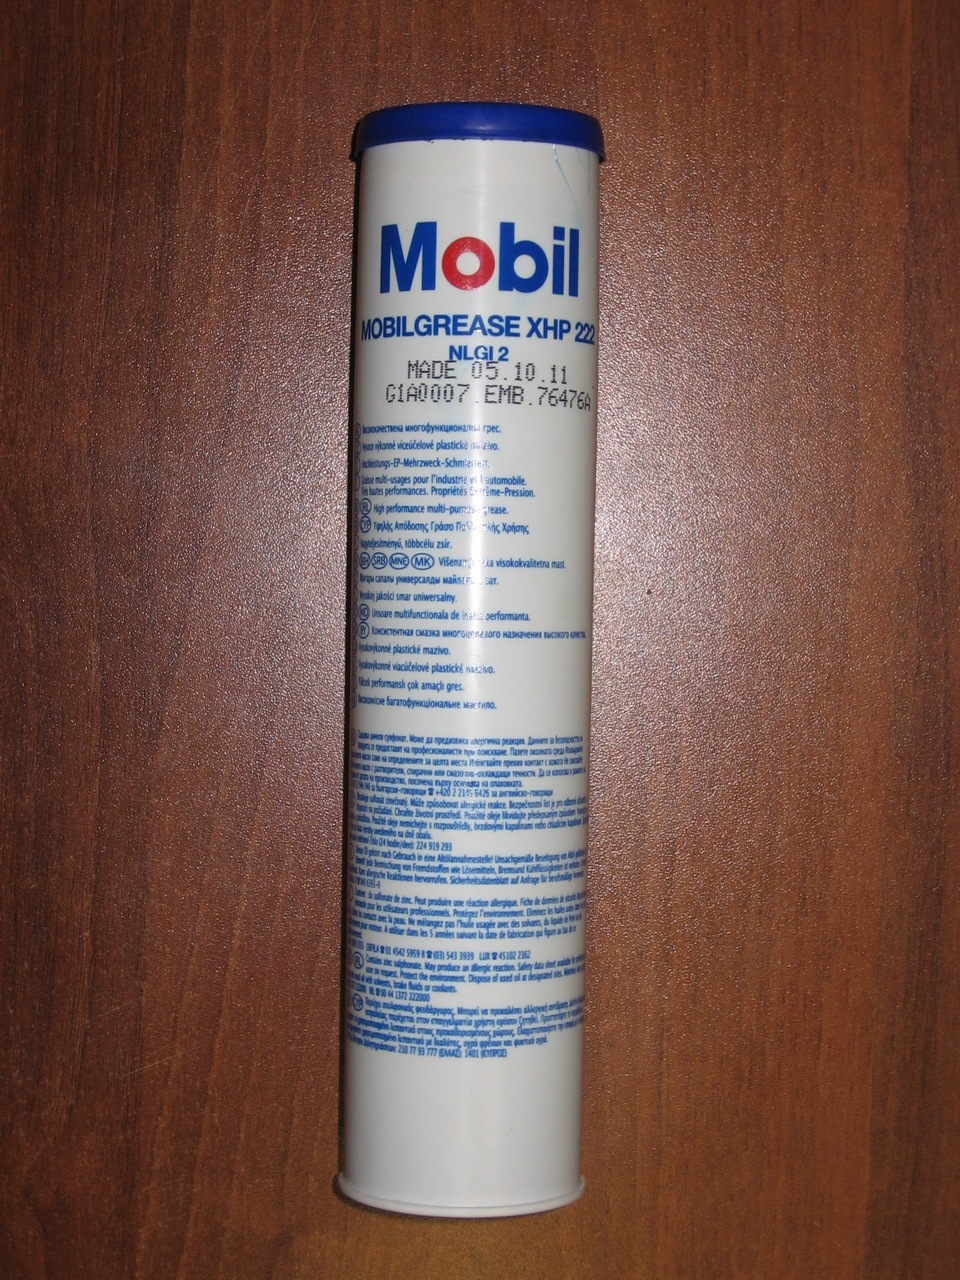
Note:
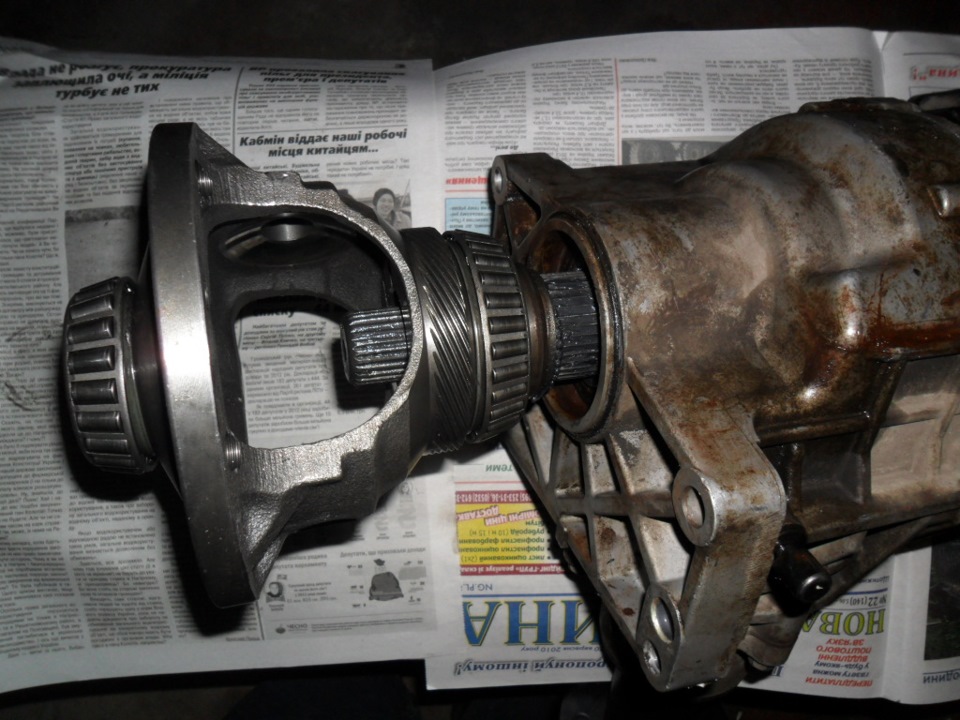
1. Remove the differential cup and deepen the splines.
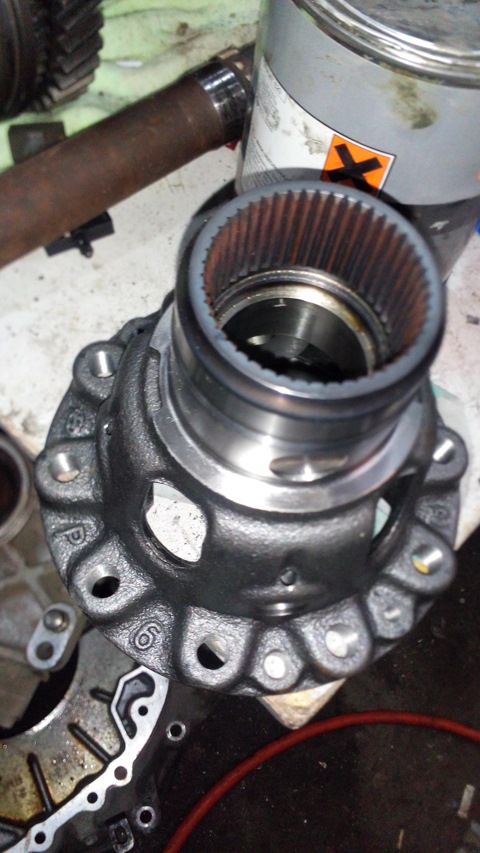
Differential cup for Hyundai ix35.
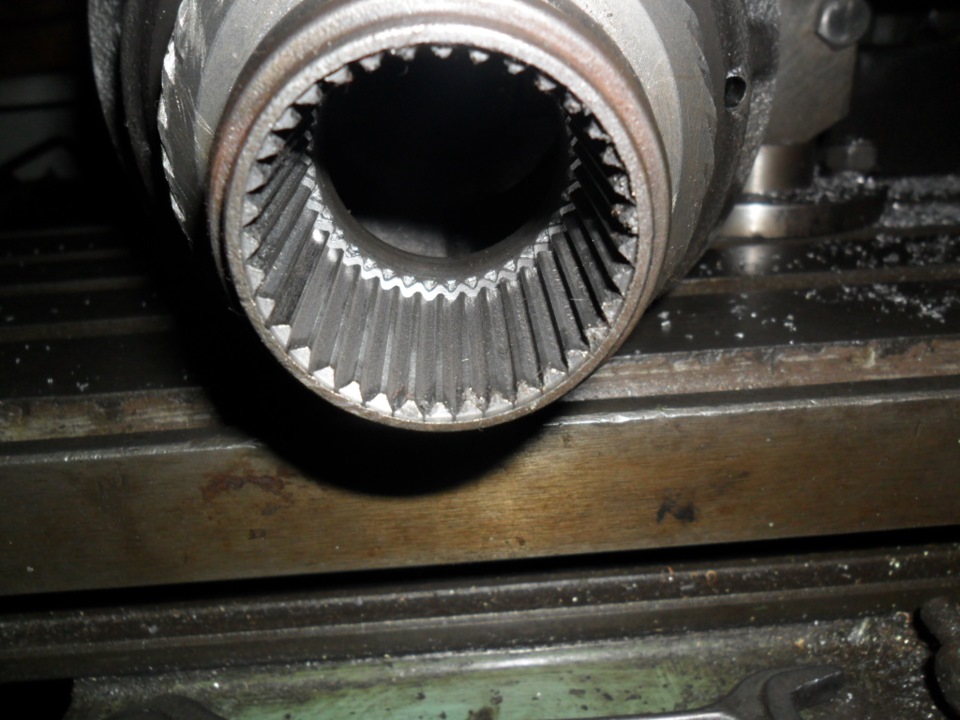
2. Remove the transfer case shaft.
3. Use a cutter to cut new splines on the transfer case shaft
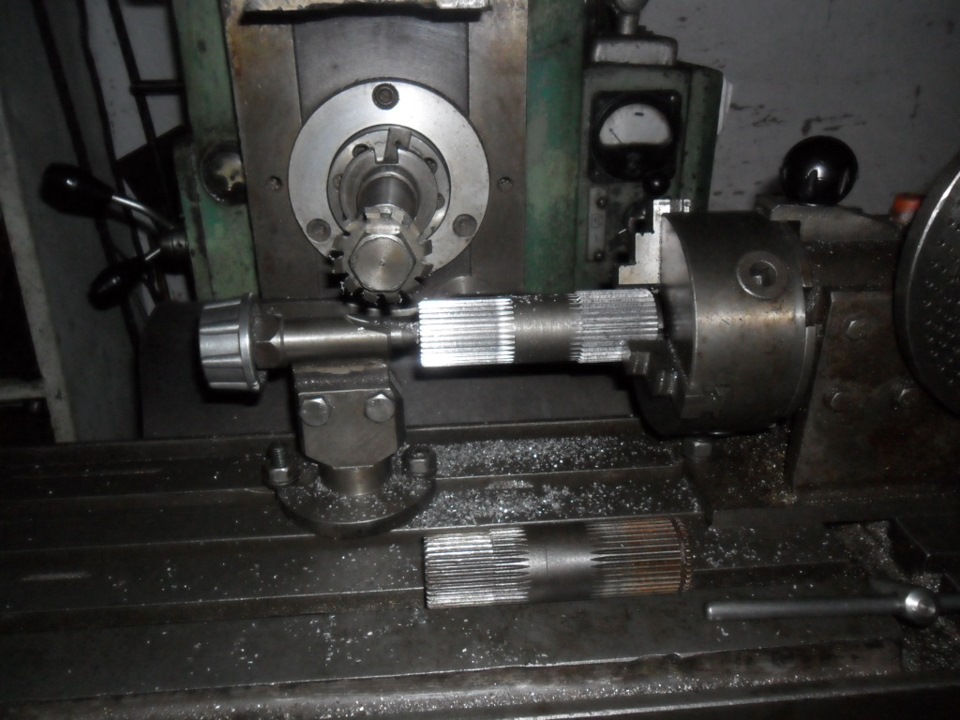
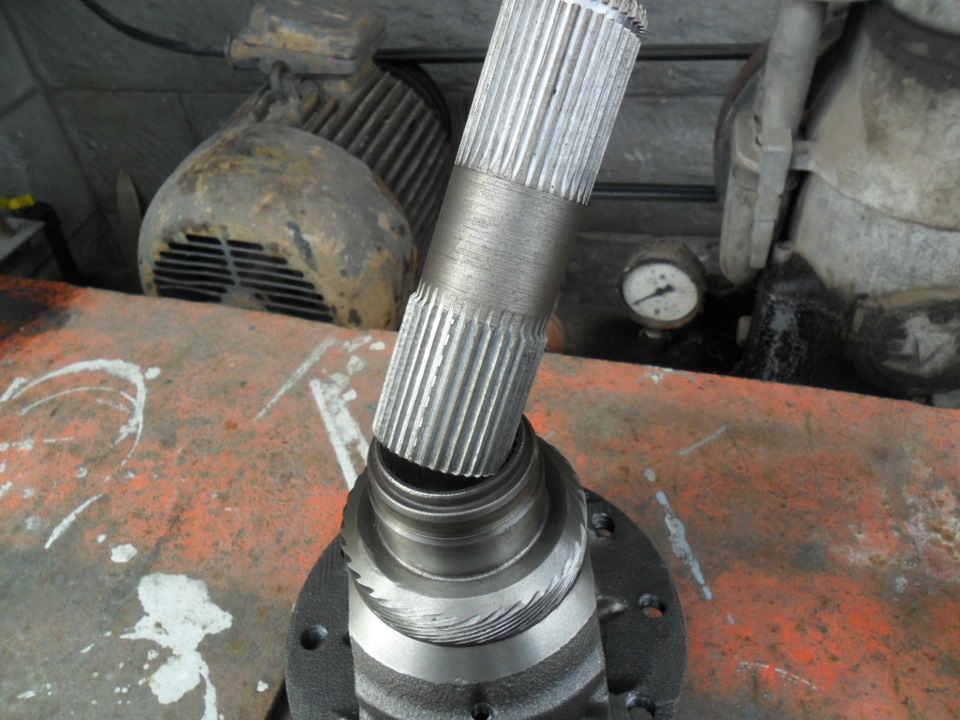
4. Remove the intermediate shaft and its bearing as described in this article .
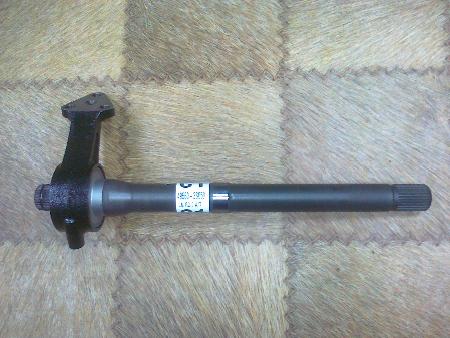
Intermediate shaft for Hyundai ix35.
5. Weld and cut new splines on the intermediate shaft.
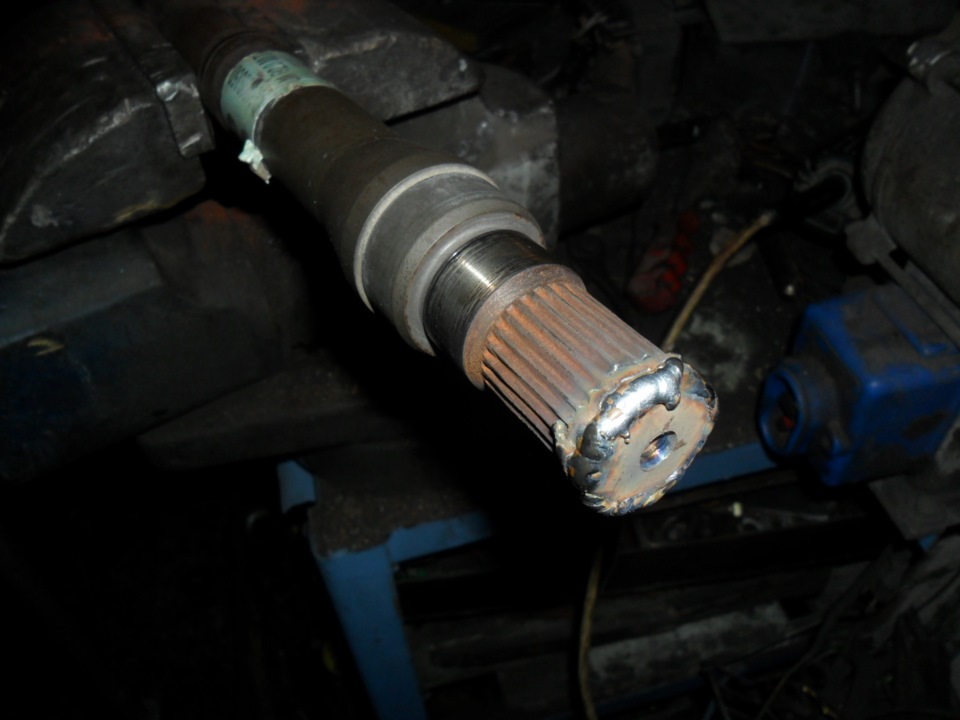
First, weld the snap ring groove on the Hyundai ix35.
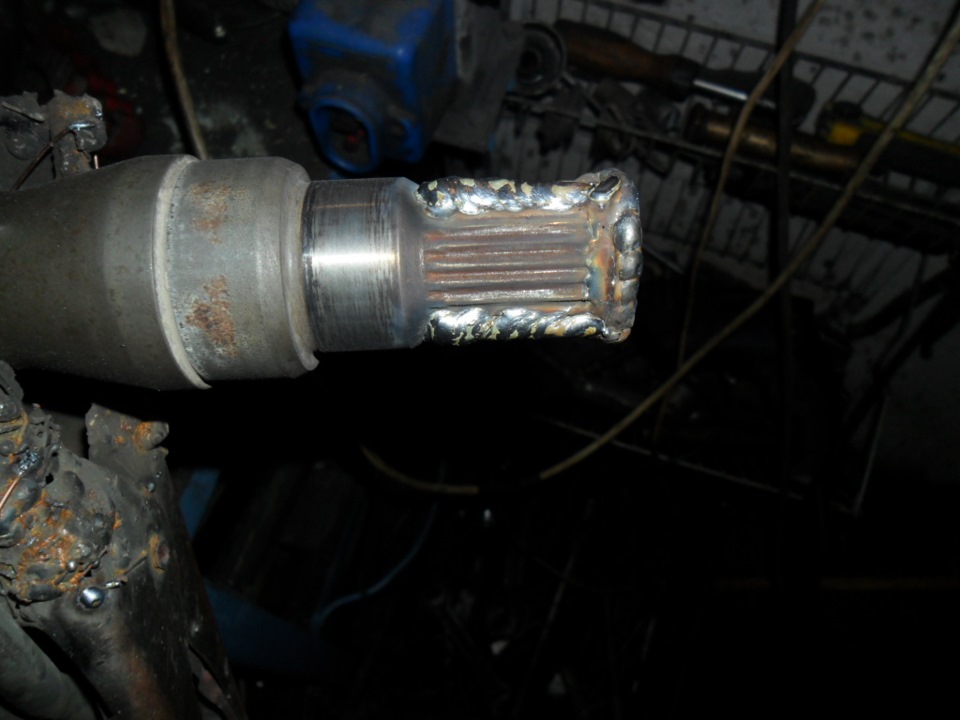
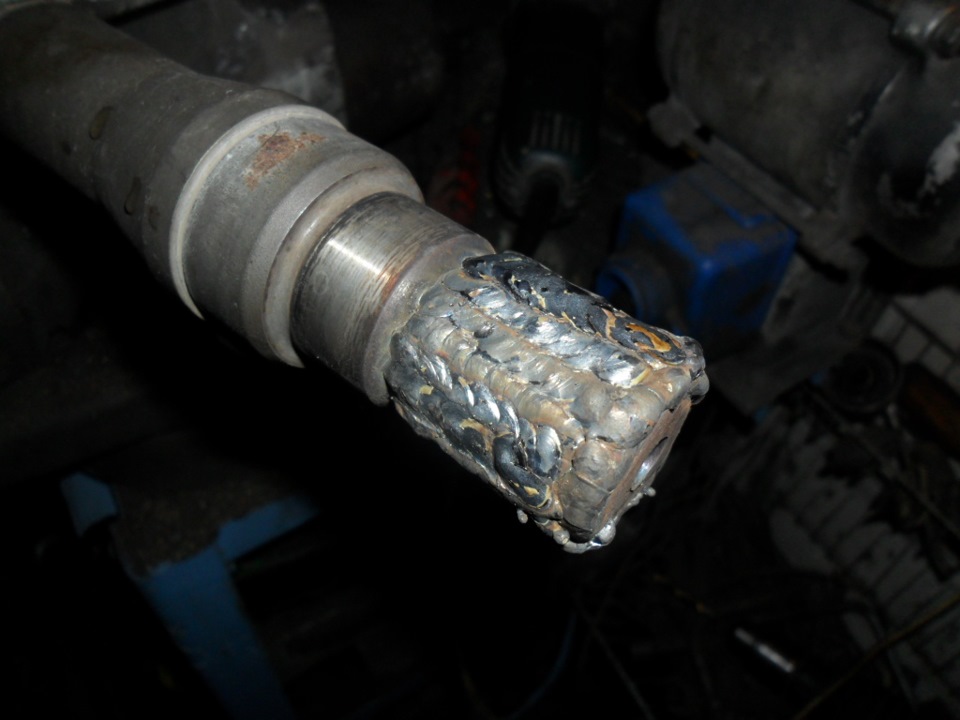
Note:
Brew slowly so as not to overheat the metal.
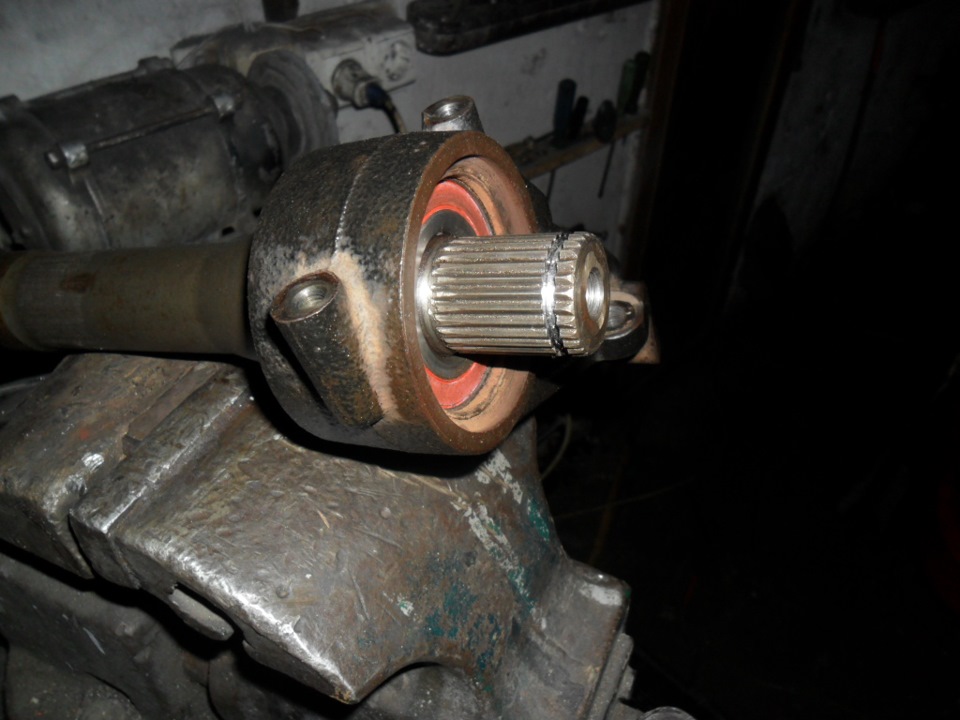
6. Turn out new splines on an intermediate shaft.
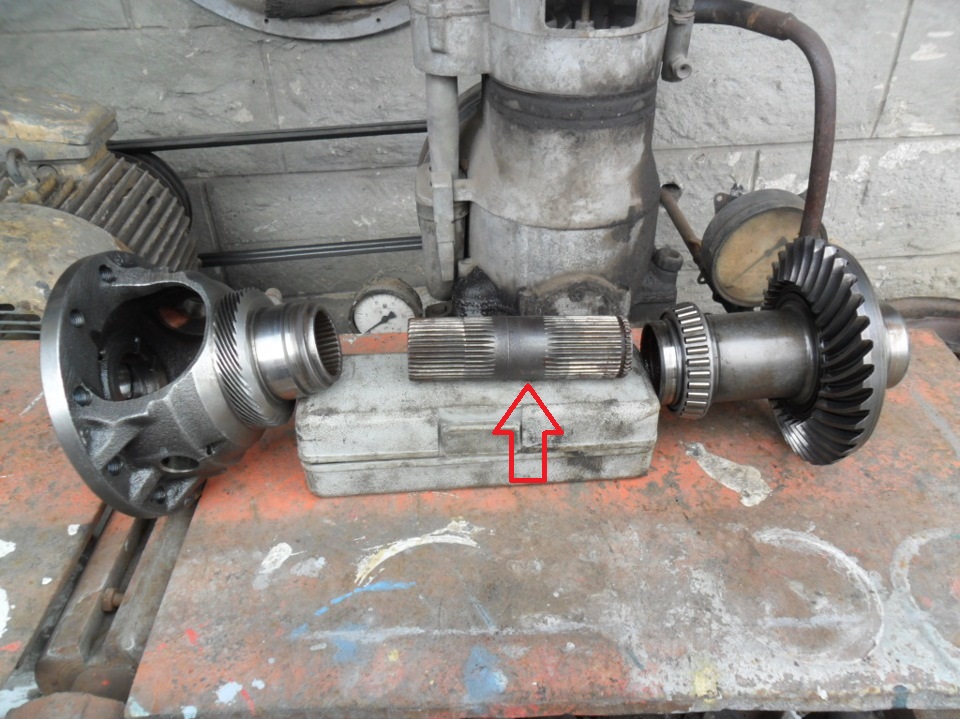
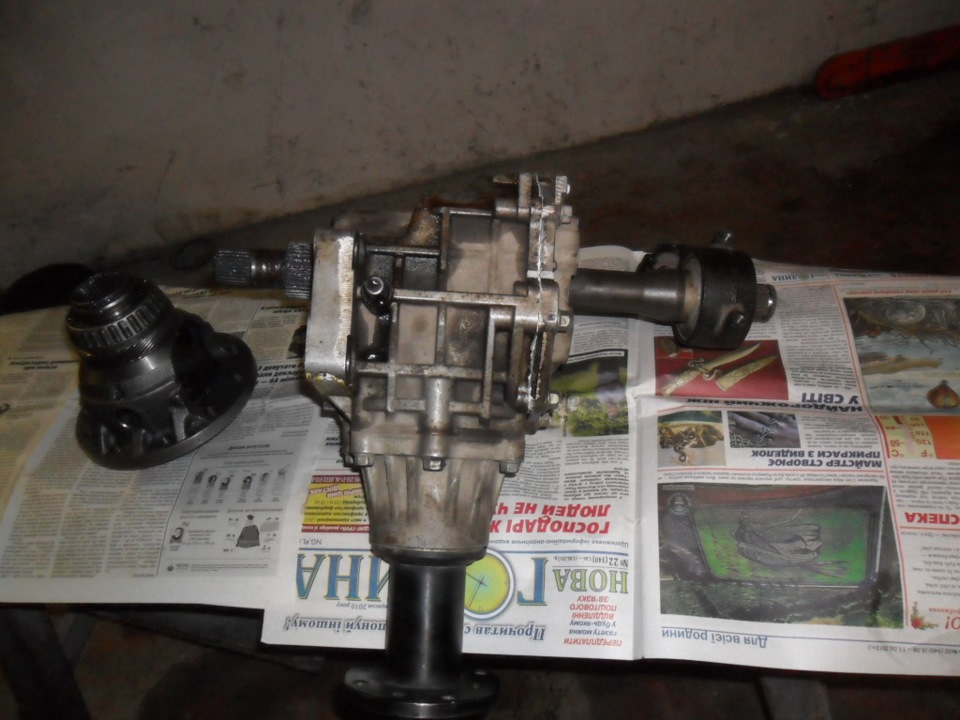
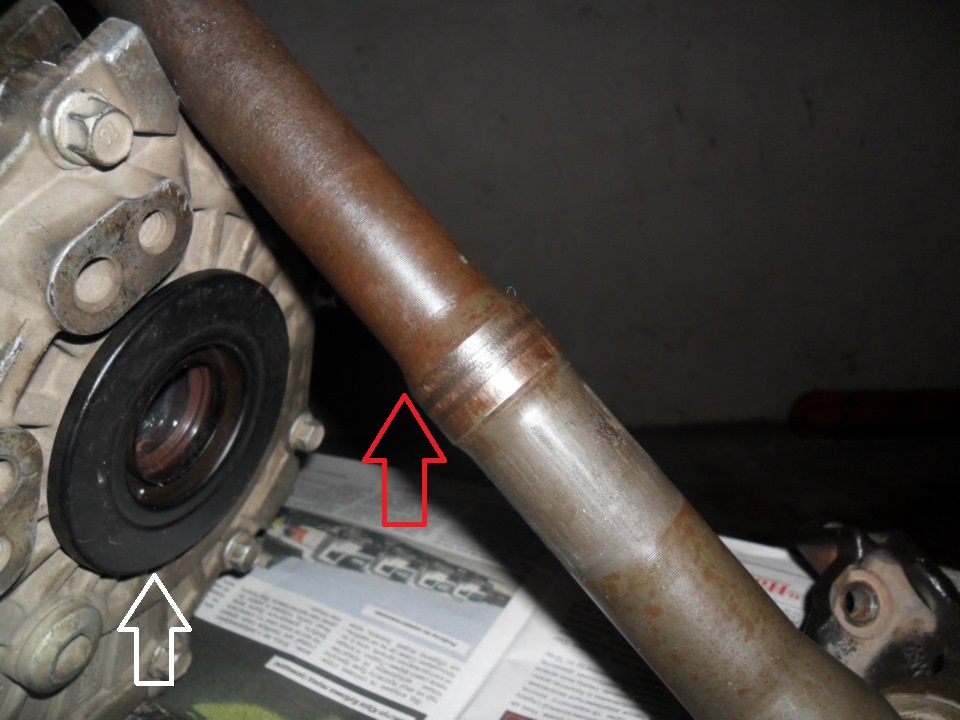
7. This is how the axle shaft passes the transfer case and sticks into the gearbox, namely into the differential (for clarity, it is shown on the removed transfer case).
8. The place of the stuffing box on the shaft is rusty (shown by the red arrow). Therefore, under the metal boot (shown by the white arrow) there is an oil seal that needs to be changed, as described in this article .
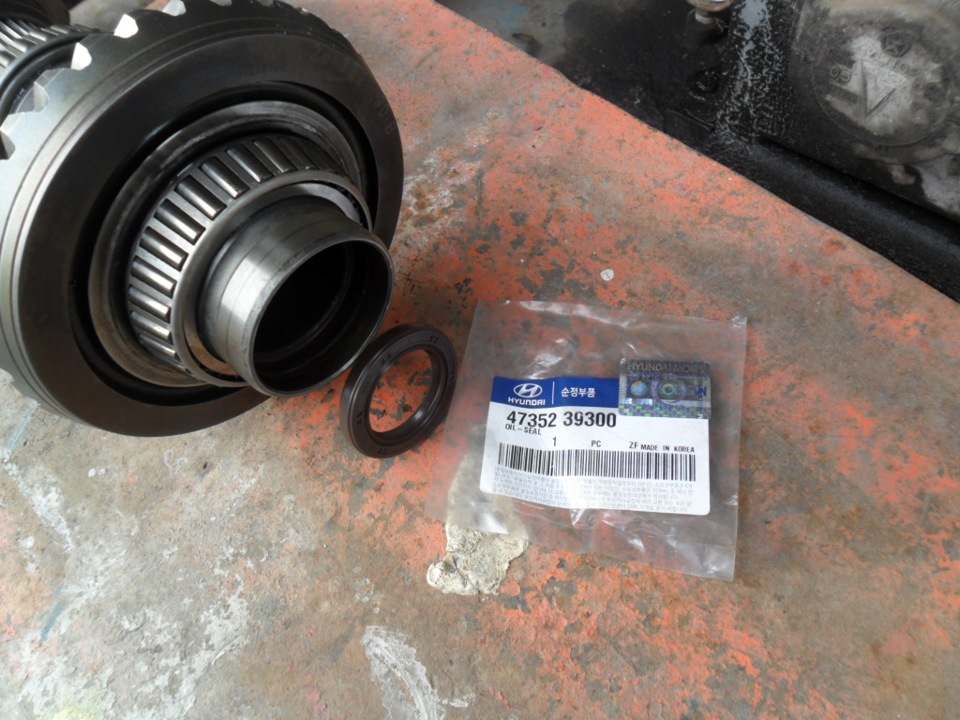
Intermediate shaft oil seal for Hyundai ix35.
9. Polish the rust on the shaft and apply grease.
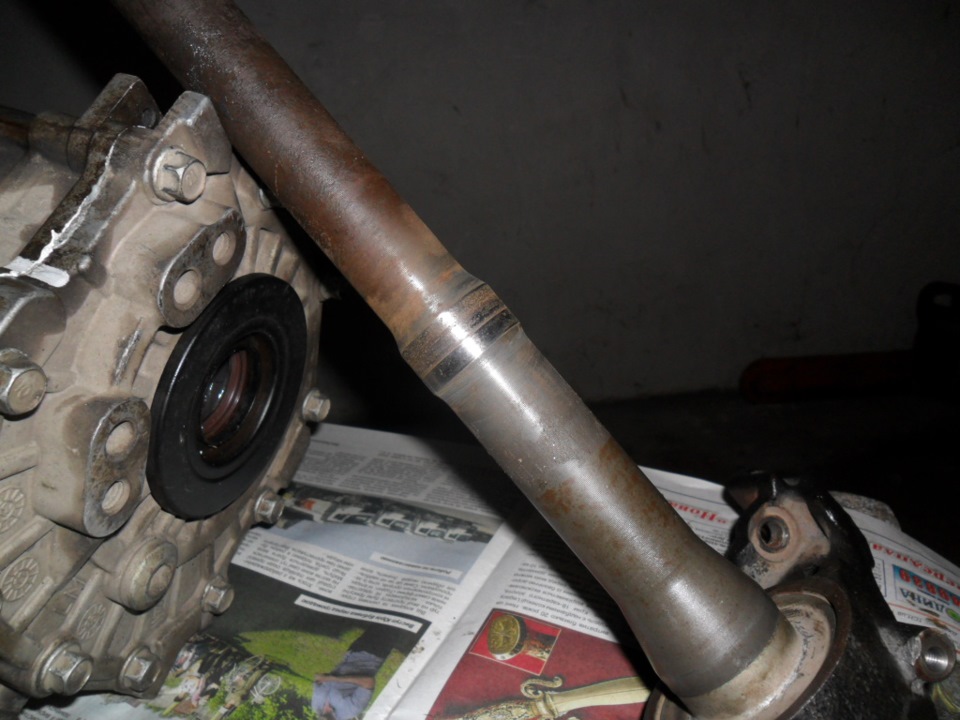
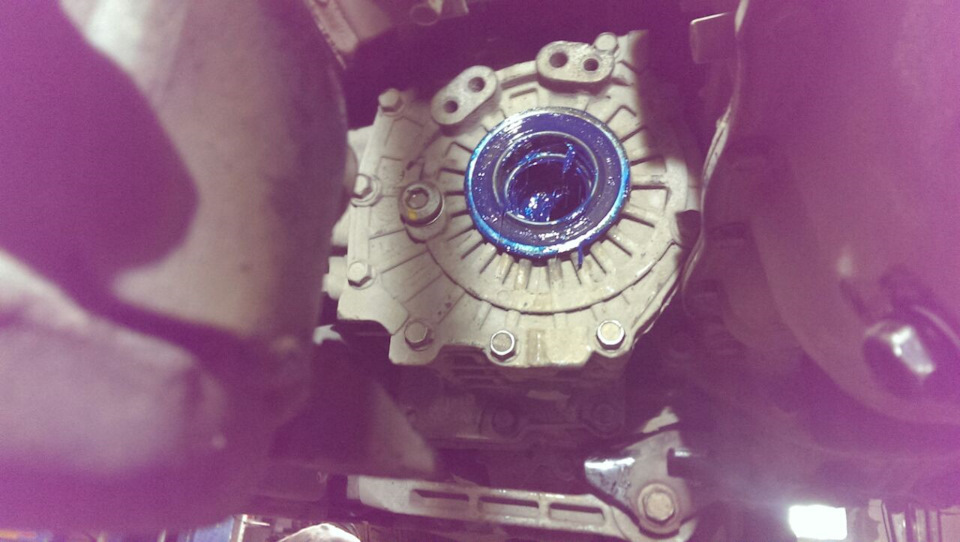
Lubricated intermediate shaft bore.
10. Install all removed parts in the reverse order of removal.
The article is missing:
- Tool photo
- Photo of parts and consumables
- Repair Description
Source: http://carpedia.club/
![1 generation [2010 - 2015]](/uploads/Hyundai_ix_35_2013_-_2015_.jpg)
