Instruments:
- Collar for end cap 3/4"
- Nozzle on the collar 17 mm
- L-shaped socket wrench 17 mm
- Hammer big
- Chisel
- screw jack
- Car support
- balloon wrench
- Emphasis (shoe) recoil
Parts and consumables:
- Ball bearing HYUNDAI ix35 article: 54530-3S000 (54530-2S500 for restyling version)
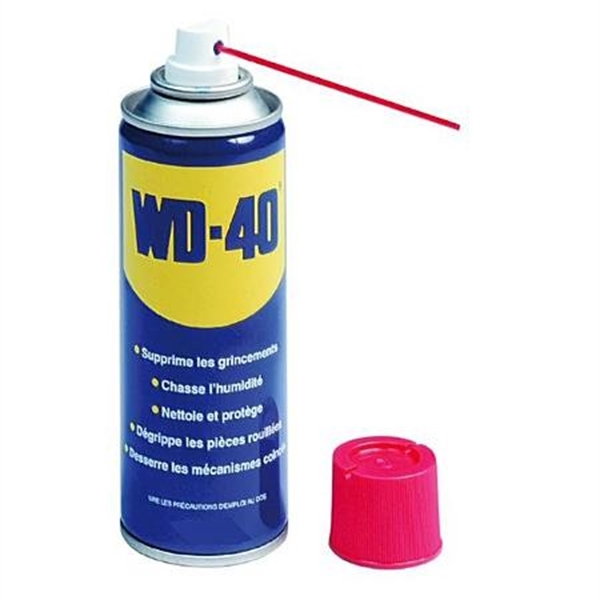
- Aerosol lubricant type WD-40
Notes:
This article describes how to remove the ball joint on the Hyundai ix35, and replace it.
It is more convenient to perform work on removing the steering knuckle on a lift. You can also perform it on a car mounted on reliable supports.
You can use a spray lubricant like WD-40 to loosen the bolts faster and easier.
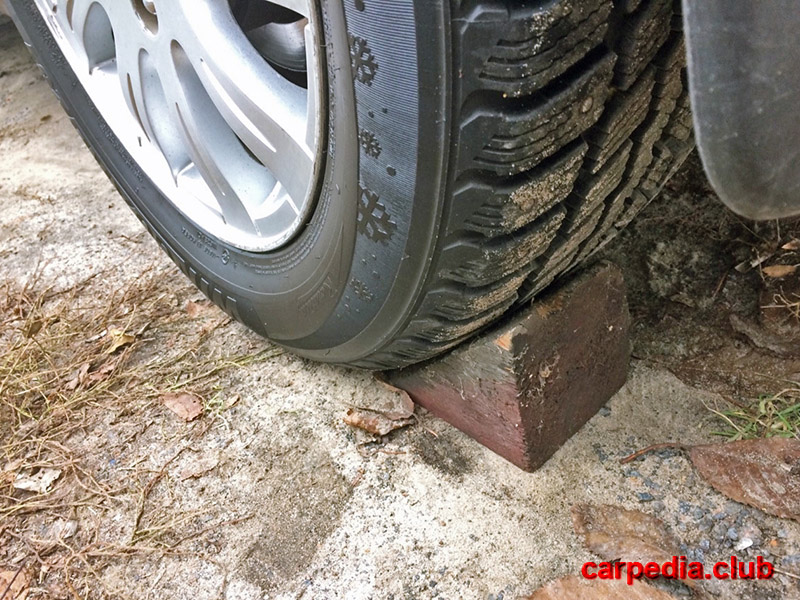
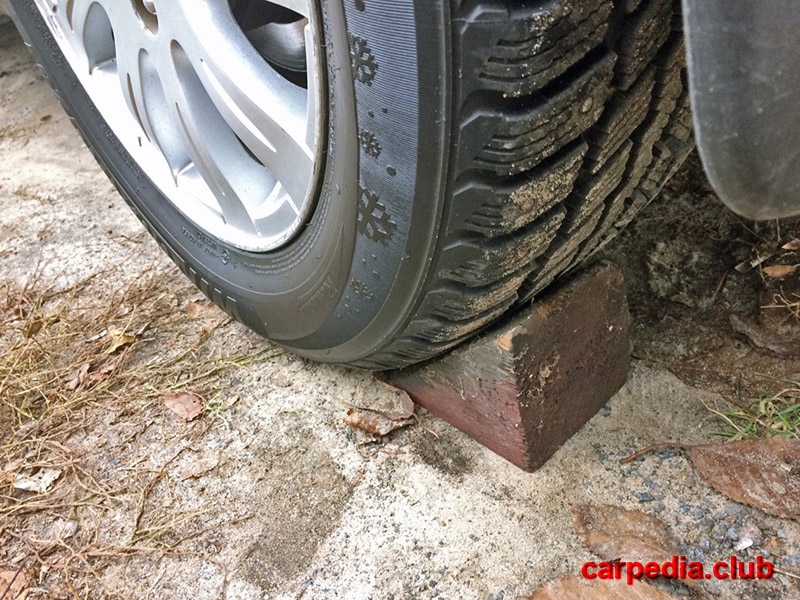
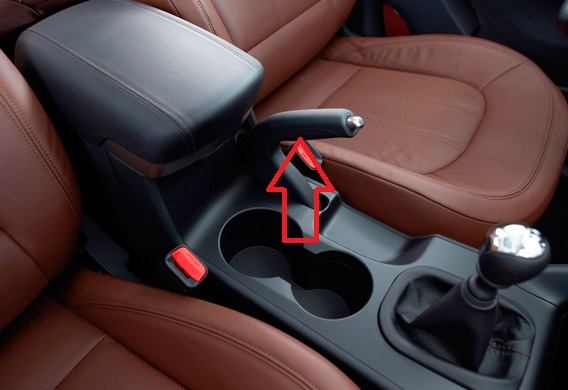
1. Engage 1st gear (translate the automatic transmission selector to the “P” position) and install wheel chocks (“boots”) under the rear wheels.
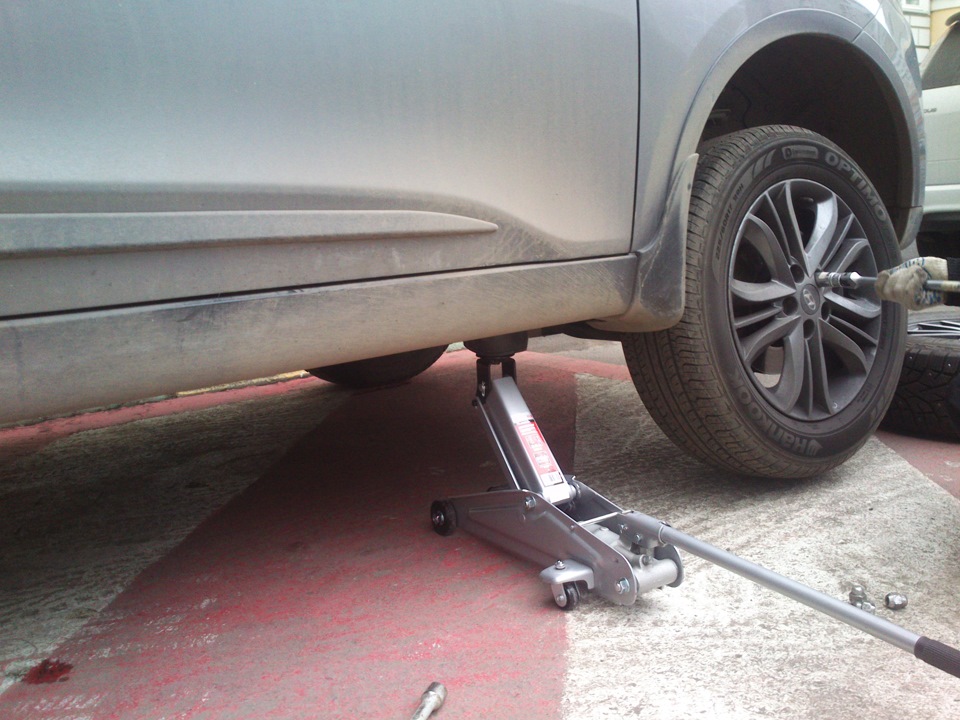
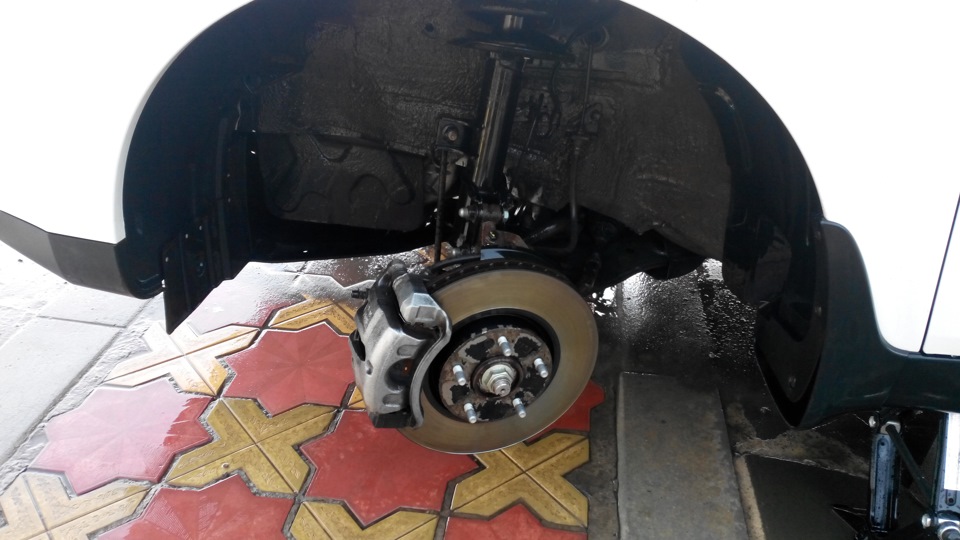
2. Loosen the wheel nuts, raise the front of the vehicle with a jack, secure the vehicle on jack stands, and remove the wheel.
WARNING:
Loosen and tighten the wheel nuts only with the vehicle on the ground.
3. Next, on the support itself, unscrew the bolt from above.
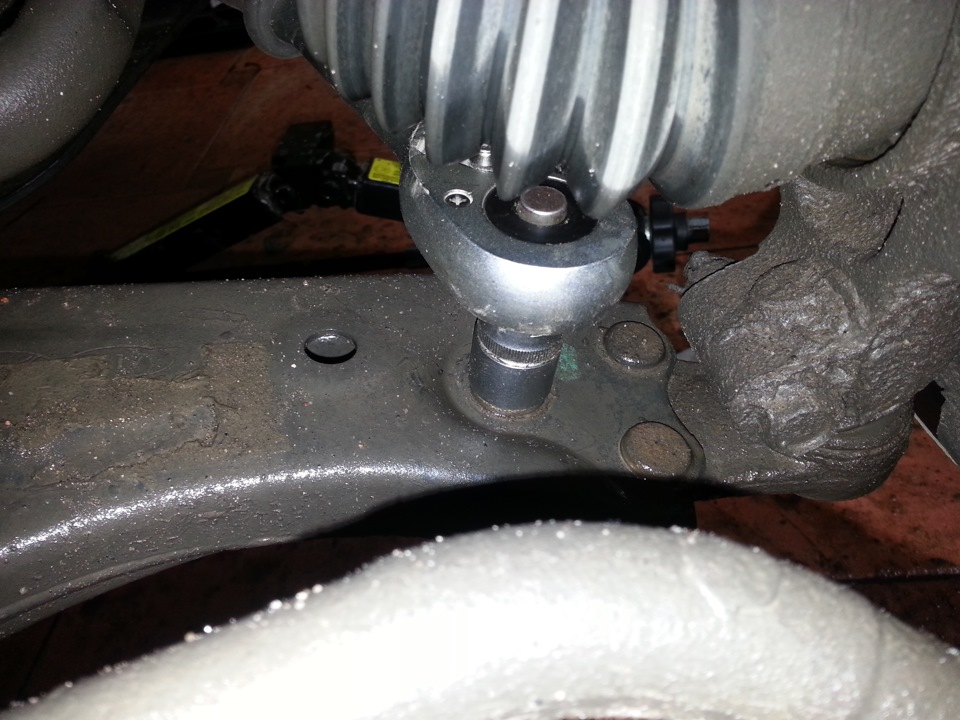
4. Turn off two nuts from below.
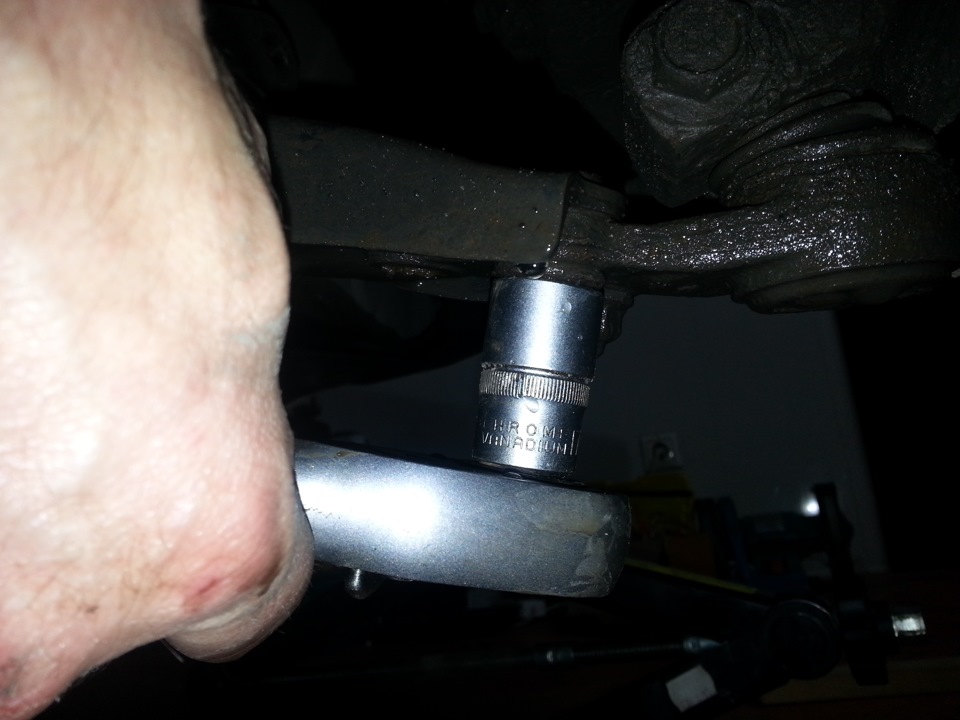
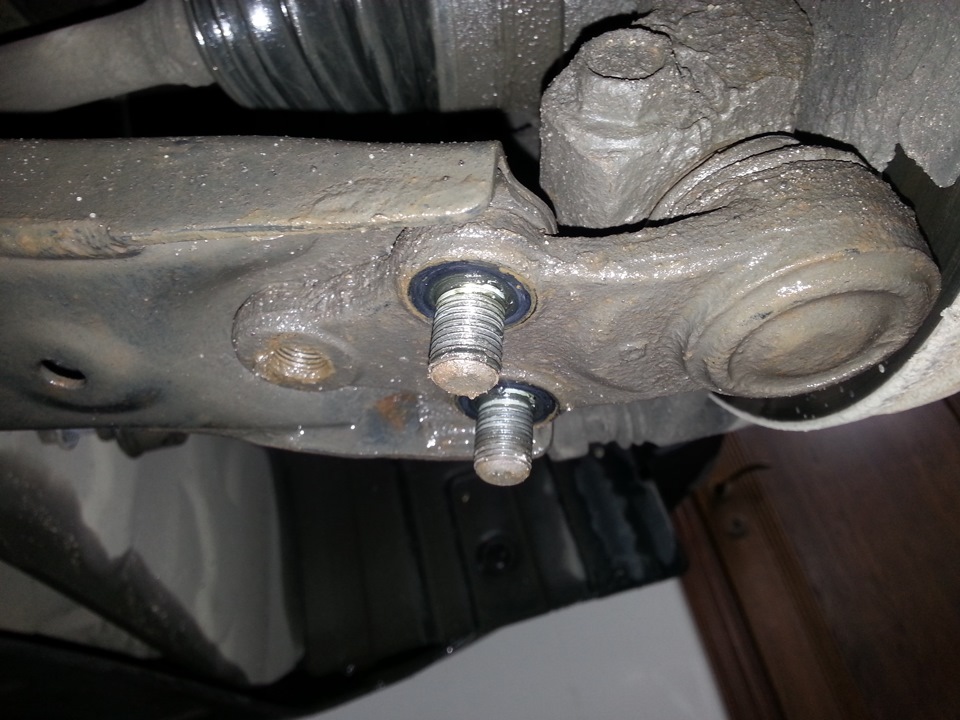
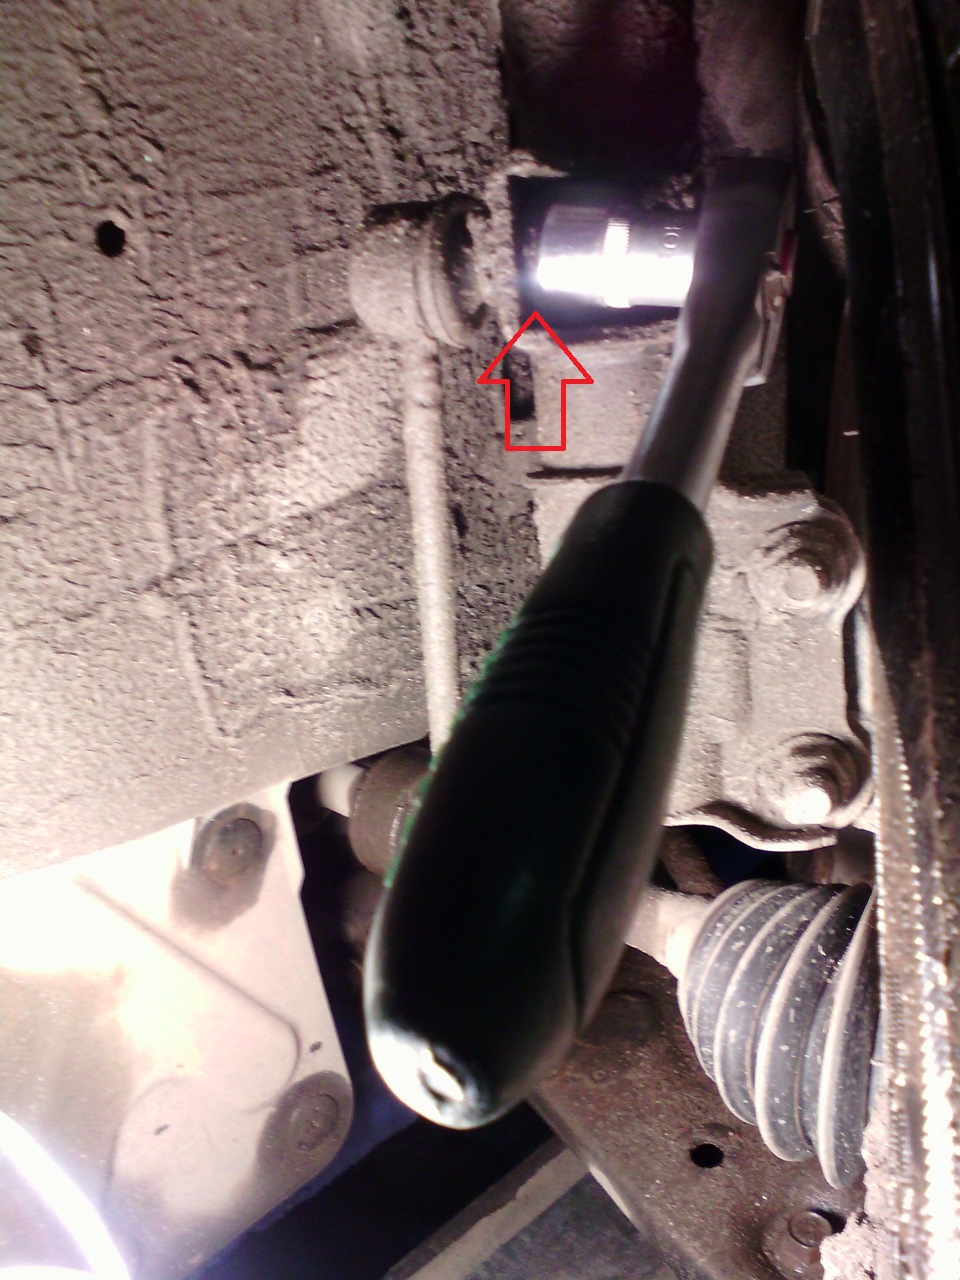
5. Remove at least one stabilizer link mount. Move the gearshift lever to neutral or insert the key into the ignition switch so that the wheel can be turned.
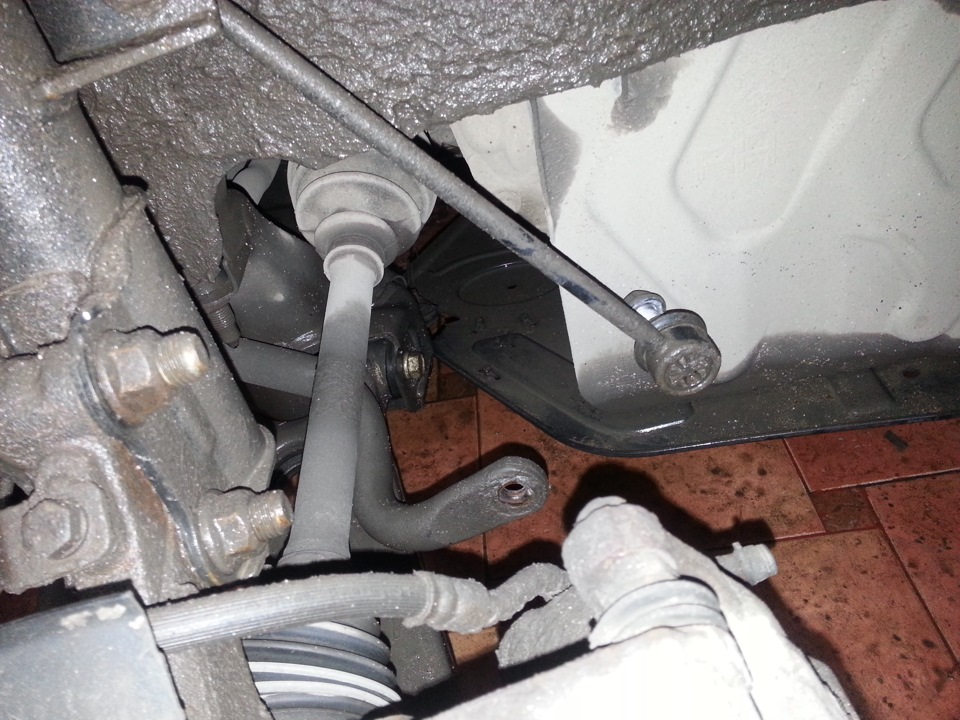
6. Remove cotter pin.
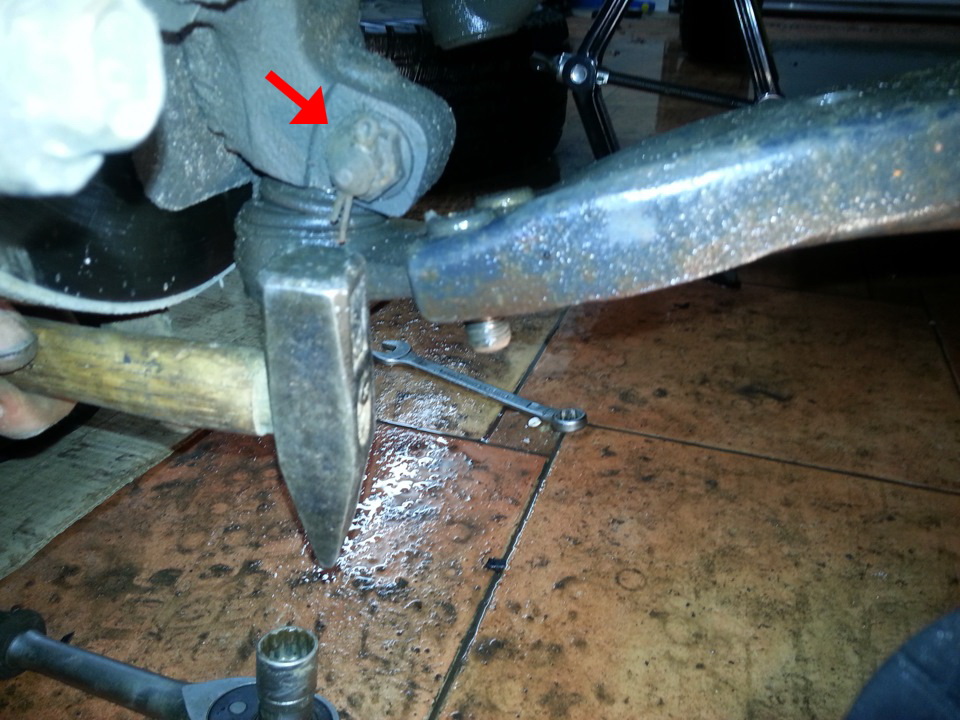
7 . Unscrew the mounting bolt.
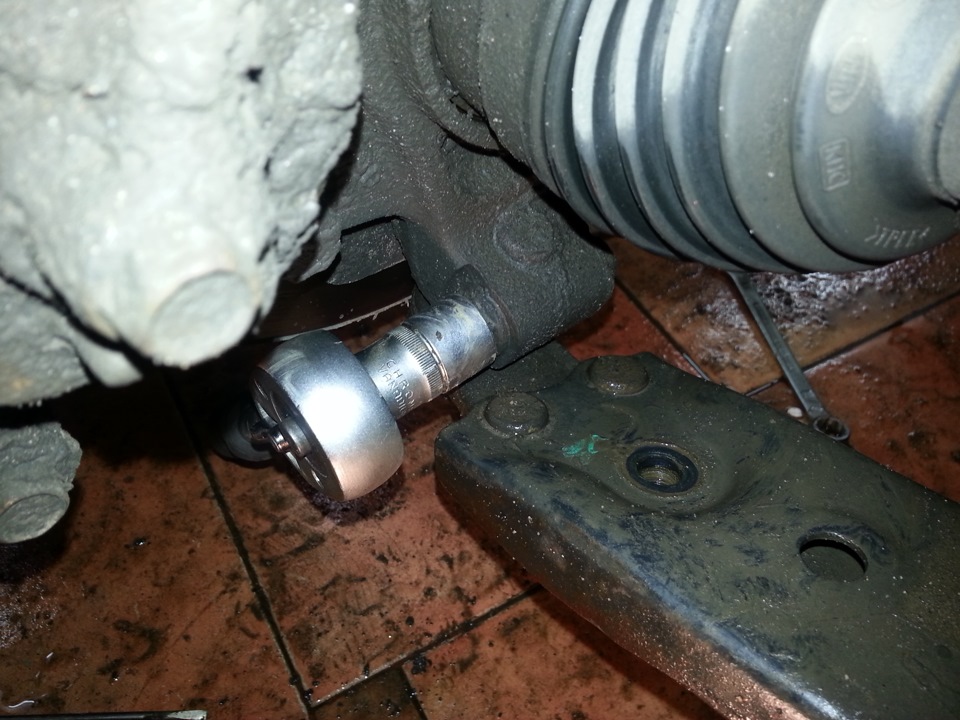
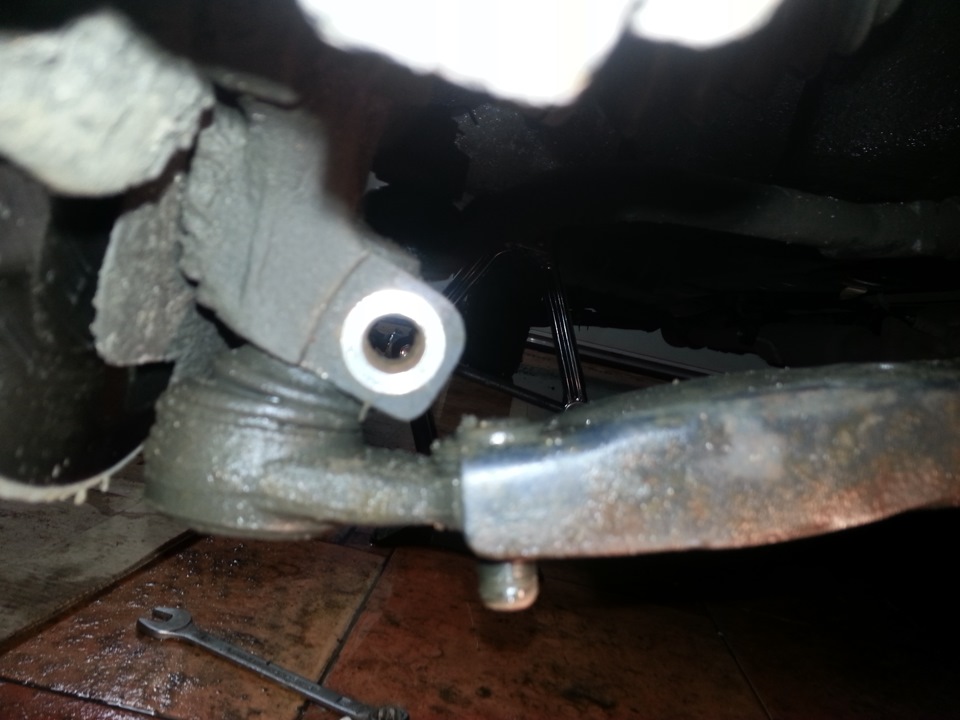
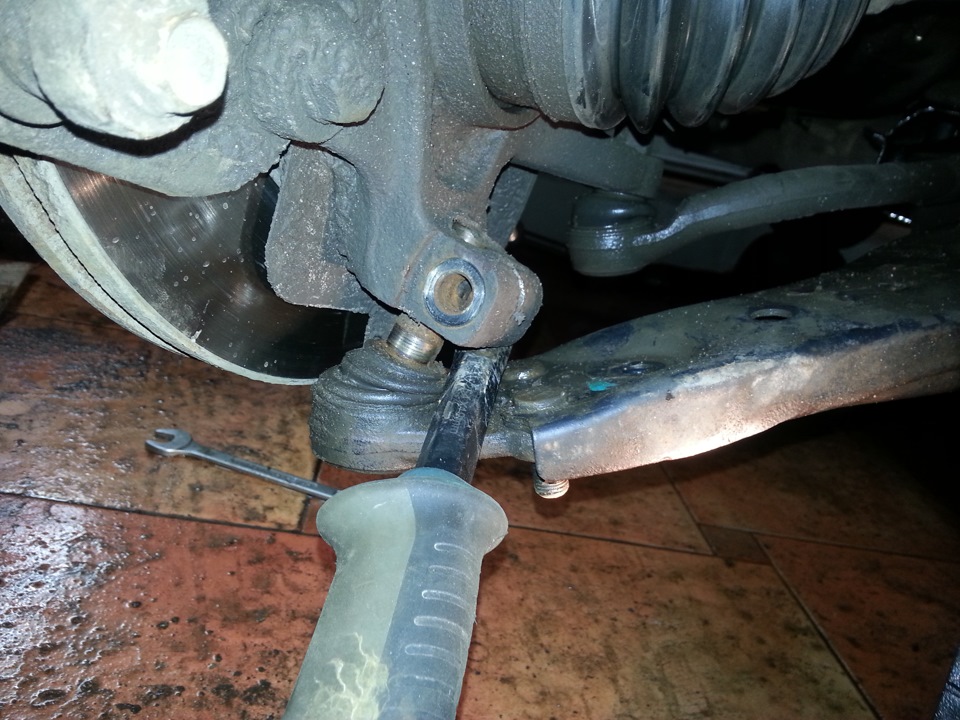
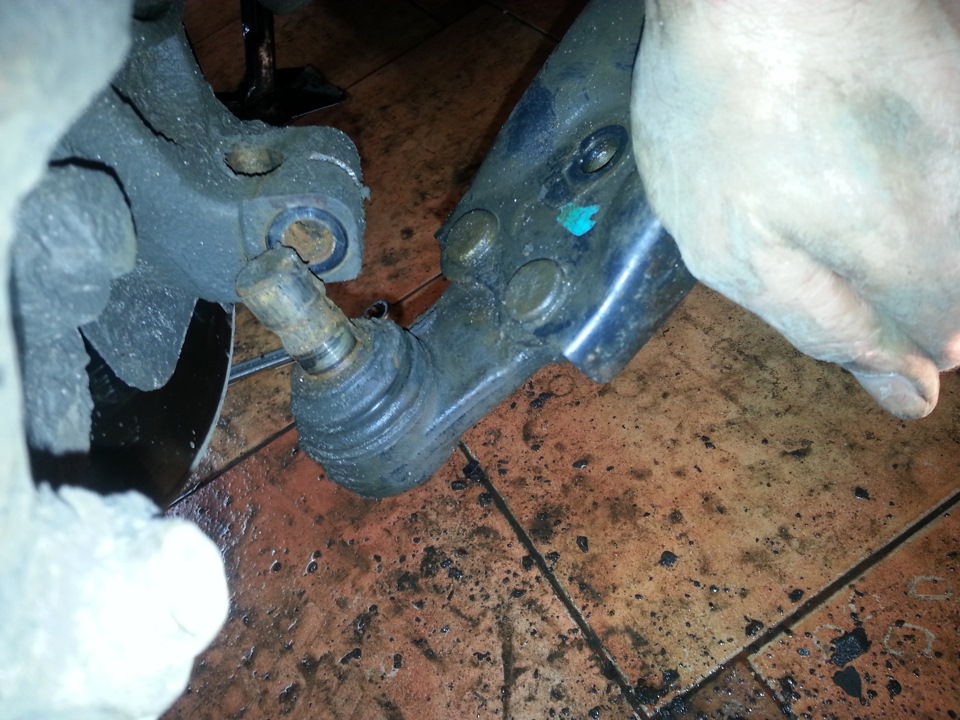
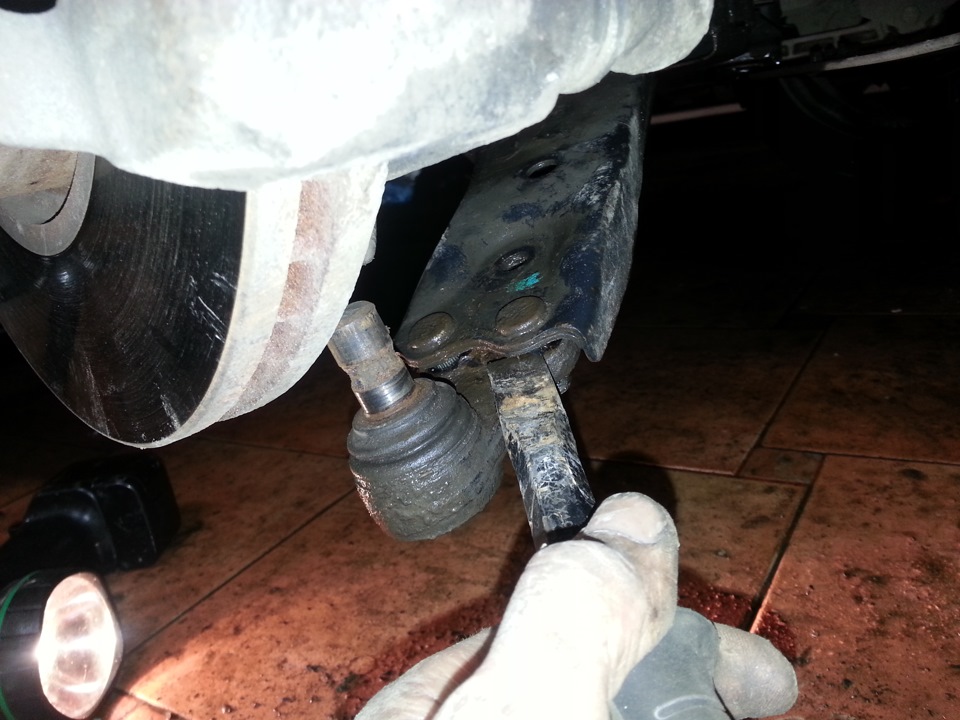
8. To separate the base of the support from the lever, hit the point of contact with a chisel a couple of times with a hammer.
Notes:
Lightly pry with a pry bar or a chisel and turn the wheel all the way (right wheel to the right, left wheel to the left) and the ball joint rod comes out easily.
9. Install the ball joint on the Hyundai ix35 in the reverse order (the fastening nut of the ball joint pin should not be fully tightened). First, screw the bolt into the support, and then the nuts.
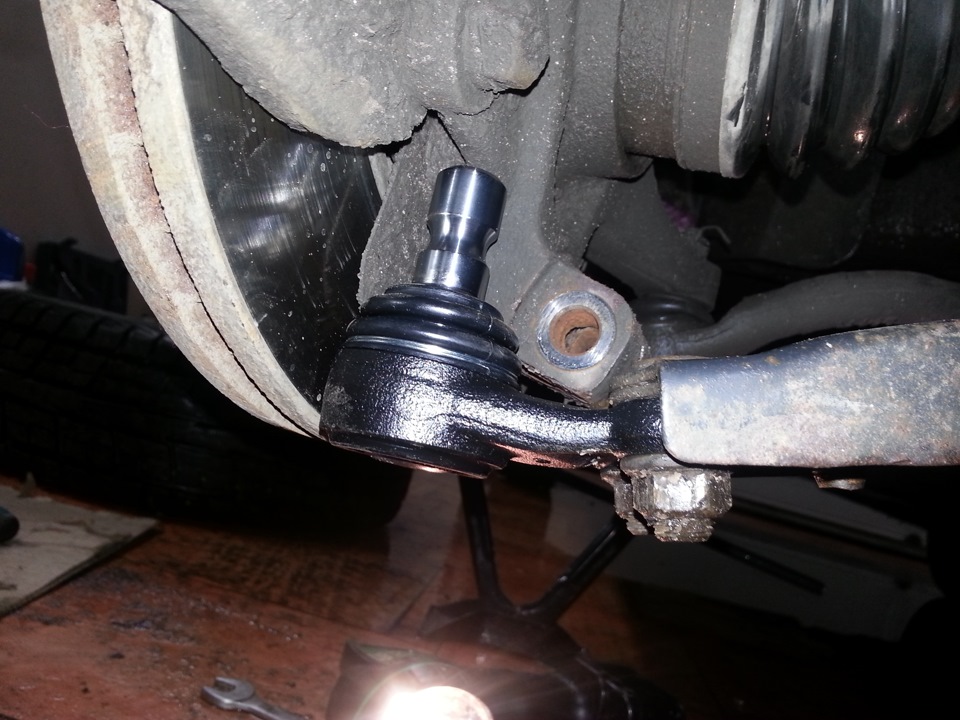
Suspension ball joint for Hyundai ix35.
10. Next, by turning the caliper, find the optimal angle and insert the rod into place.
The article is missing:
- Tool photo
Source: http://carpedia.club/

![1 generation [2010 - 2015]](/uploads/Hyundai_ix_35_2013_-_2015_.jpg)
