![1 generation [2011 - 2017]](/uploads/Lada_Granta_2011_-_2015.jpg)

Tools (for 8-valve engines):
- Ratchet wrench
- 12 mm hex bit head
- Oil filter puller (or large flat screwdriver)
Tools (for 16-valve engines):
- Ratchet wrench
- Extension
- Head for 8 mm
- Head 10 mm
- Head 17 mm
- Oil filter puller (or large flat screwdriver)
Parts and consumables:
- Oil filter
- Technical capacity
- Motor oil
- rags
Notes:
Change the engine oil in accordance with the maintenance schedule every 15 thousand km of the vehicle. Perform work on an idle warm engine, preferably immediately after a trip, until the oil has cooled down.
In the paragraphs of the article, where there are two photos each, the first is for a 16-valve, and the second is for 8-valve engines.
1. Install the car on a viewing hole or overpass.
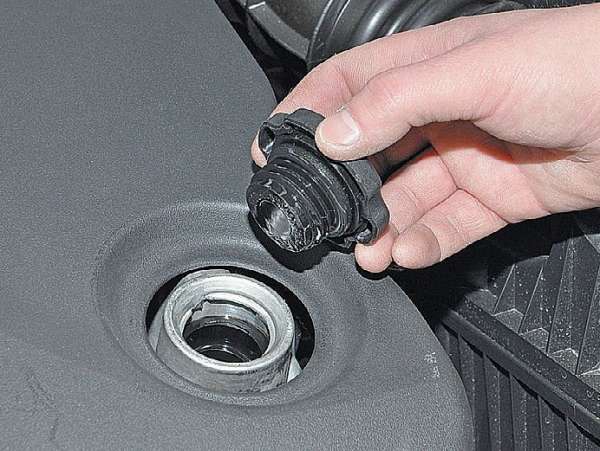
2. Remove the engine oil filler cap.
3. Remove the middle mudguard of the engine compartment (only for 16-valve engines).
4. From the bottom of the vehicle, clean the oil pan from around the drain plug.
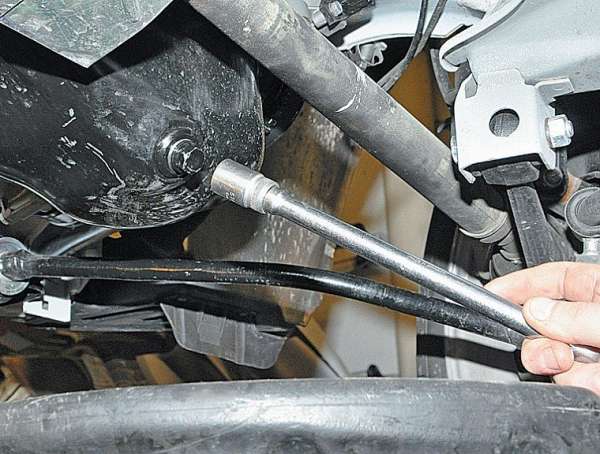
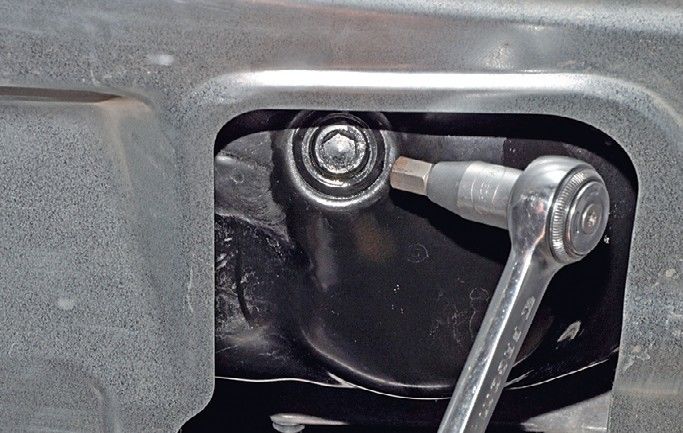
5. Loosen the drain plug (17mm socket for 16-valve engines or 12mm bit socket for 8-valve engines).
6. Place a wide container for used oil under the hole and, having completely unscrewed the plug by hand, drain the oil.
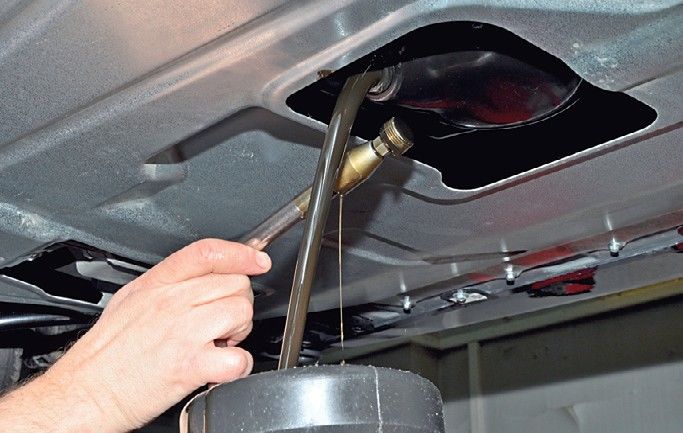
Attention:
Be careful - the oil is hot and aggressive to the skin.
7. Drain the oil until it starts to drip from the drain hole. After wiping the plug and removing any remaining dirt from its threads, wrap the plug in place.
8. Remove any oil spills from the engine sump with a rag.
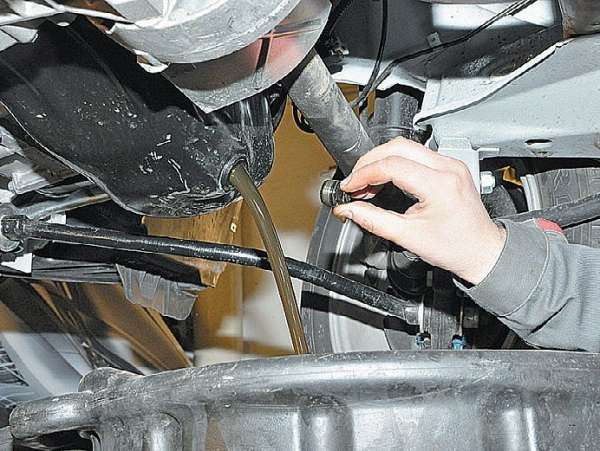
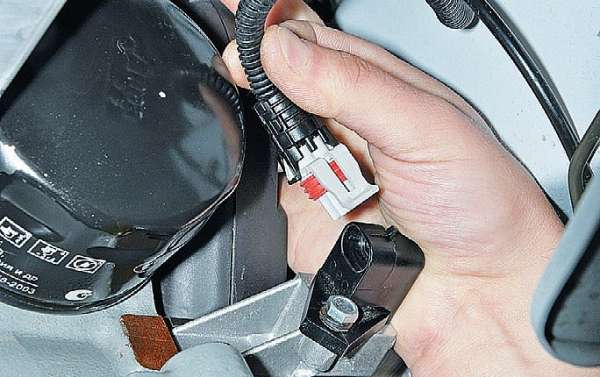
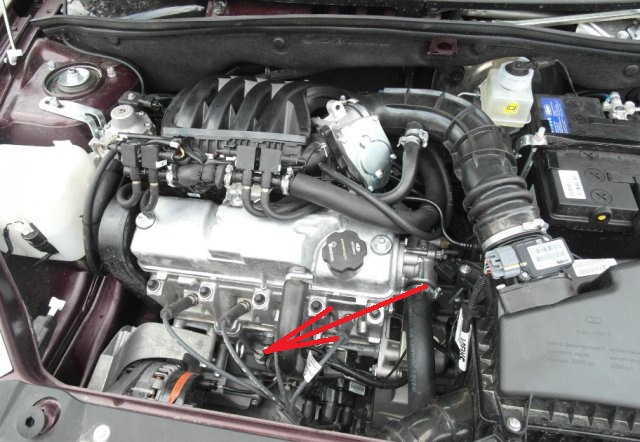
9. Disconnect the harness connector from the crankshaft position sensor connector and move the wiring harness away from the oil filter (so as not to damage the wires when removing the filter).
10. Disconnect the wire end from the low oil pressure switch as described here .
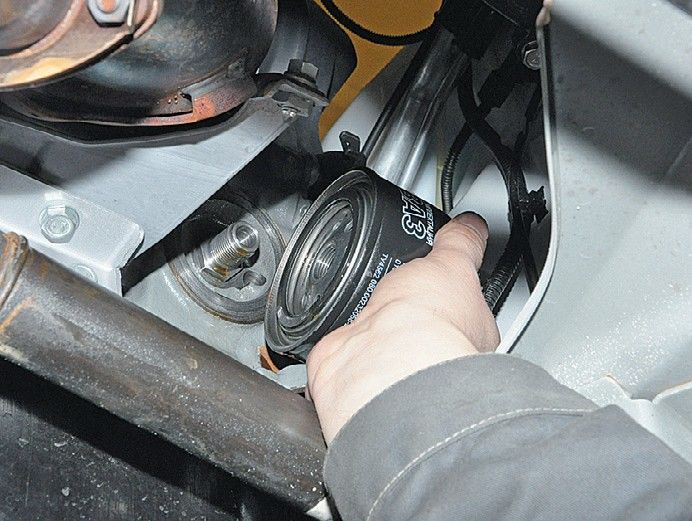
11. Place a used oil container under the oil filter.
12. Unscrew (counterclockwise) the oil filter. If this cannot be done manually, loosen the filter with a puller.
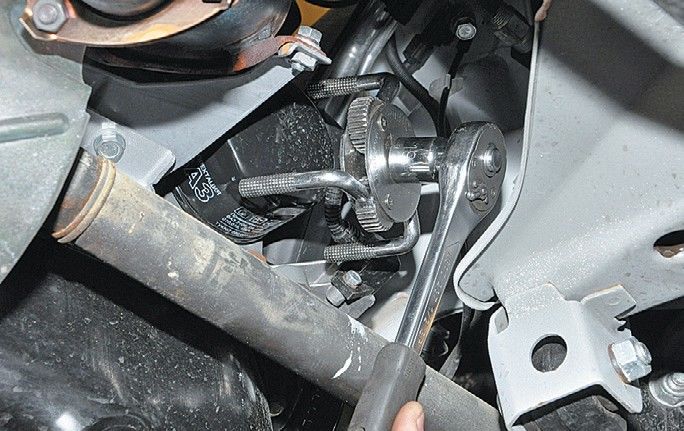
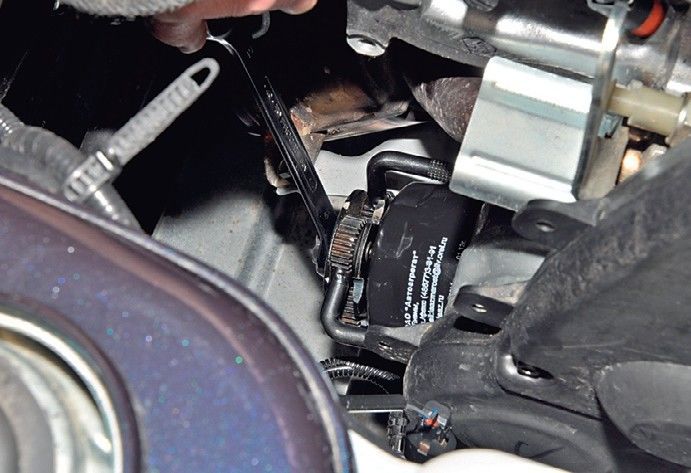
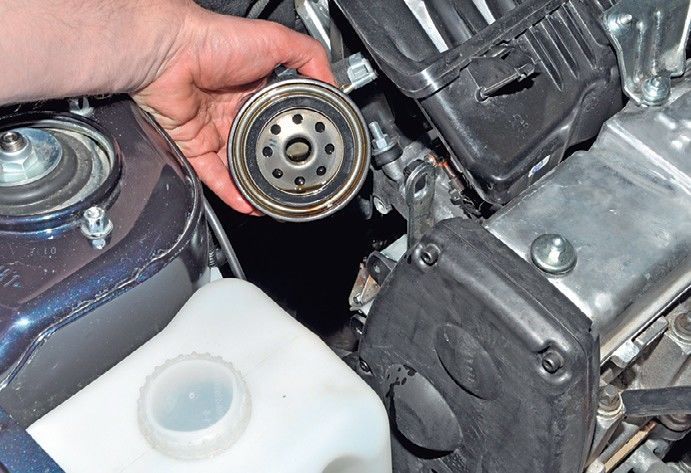
13. Remove the oil filter.
Note:
In the absence of a puller, you can pierce the filter housing with a screwdriver (closer to the bottom so as not to damage the engine fitting) and unscrew the filter using the screwdriver as a lever. You can also use sandpaper or an old timing belt to wrap around the filter and unscrew it.
14. Clean the filter seat on the cylinder block from dirt and oil drips.
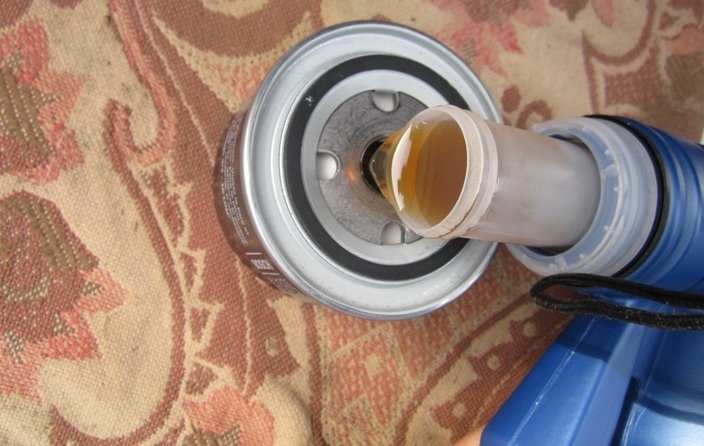
15. Fill the filter with new engine oil to about half the volume of the filter and apply a thin layer of oil to the filter o-ring.
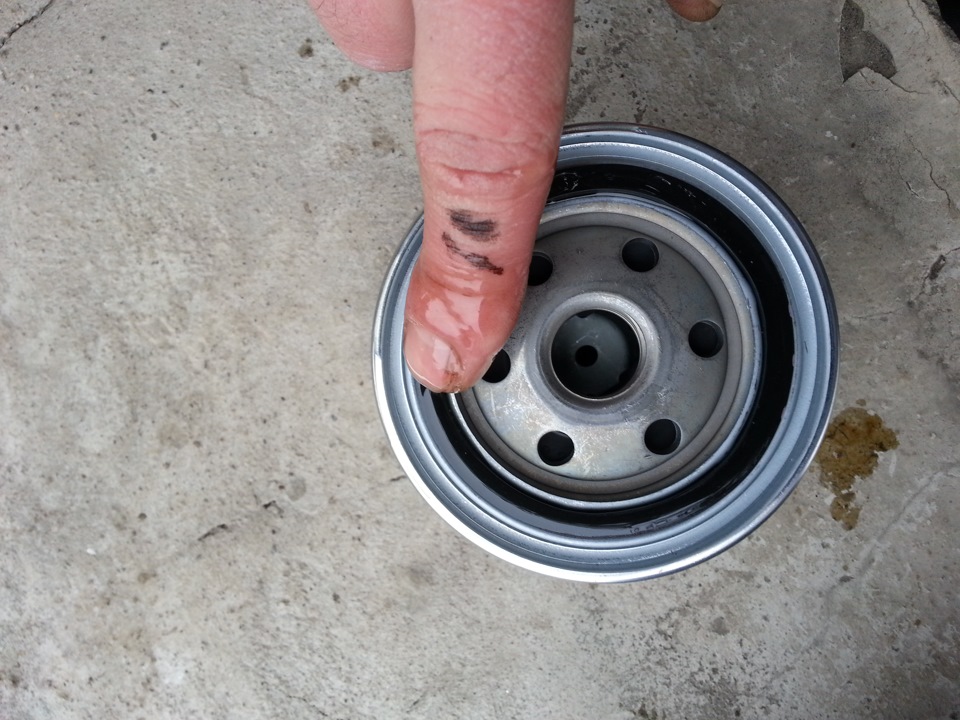
16. Wrap the oil filter by hand until the sealing ring comes into contact with the cylinder block. Turn the filter an additional 3/4 turn to seal the connection.
17. Fill the engine with 3.2 liters of oil through the oil filler neck and screw on the filler cap.
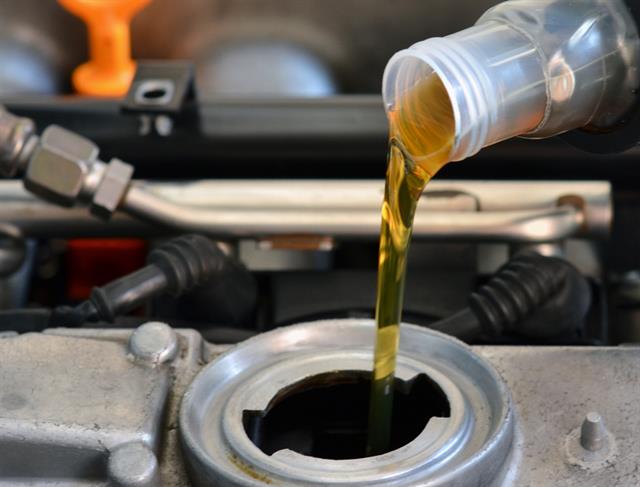
Note:
If your car is equipped with an automatic transmission, then the capacity of the engine lubrication system is 4.4 liters.
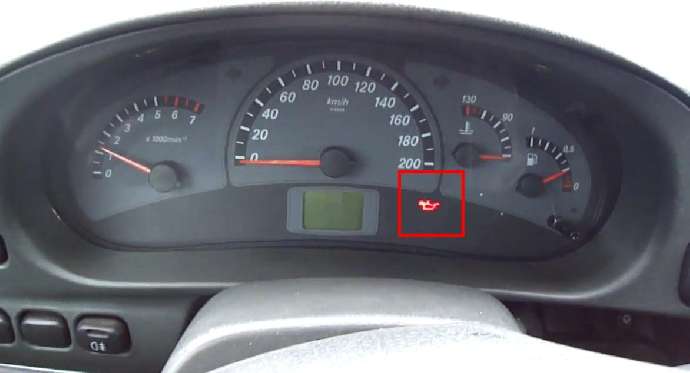
18. Run the engine for 1-2 minutes. Make sure that the indicator of insufficient (emergency) oil pressure in the engine goes out in the instrument cluster and that there are no leaks from under the drain plug and from under the filter.
19. Stop the engine and after a few minutes (to allow the oil to drain into the sump), check the oil level in the sump using the dipstick.
20. If necessary, top up the oil level, tighten the oil filter and drain plug.
The article is missing:
- Photo of parts and consumables
Source: carpedia.club